
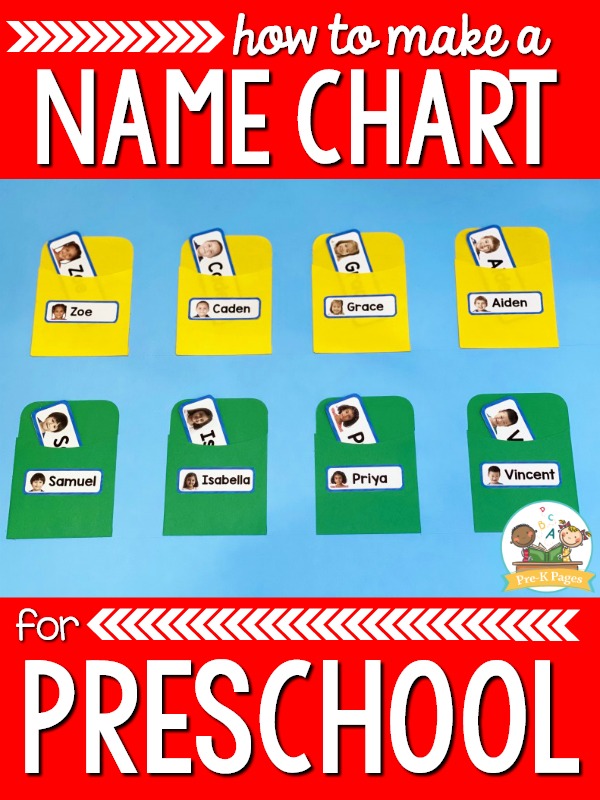
Do you use a name chart in your preschool classroom? A name chart can be used for many different name activities. You can quickly and easily make your own name chart that will last all year long using these simple instructions.
How to Use a Name Chart
You can use a name chart in your classroom for check-in each morning. Just spread the cards face up on a table, and as children enter the classroom invite them to locate their card and place it in the correct pocket.
You can also place the chart in your writing center. Students can remove the cards and use them as name models when writing.
This chart can even be used as an attendance taking tool. After students check-in each morning, any student name cards remaining on the table are absent.
How to Make a Name Chart with Pockets
You will need the following supplies to make your own name chart for your classroom.
- Poster Board
- Library Pockets (or make your own with envelopes)
- Glue Stick or Xyron
- Laminating Film
- X-Acto Knife (keep out of reach of children)
- Card stock
- Name Cards
- Scissors

DIY Name Chart
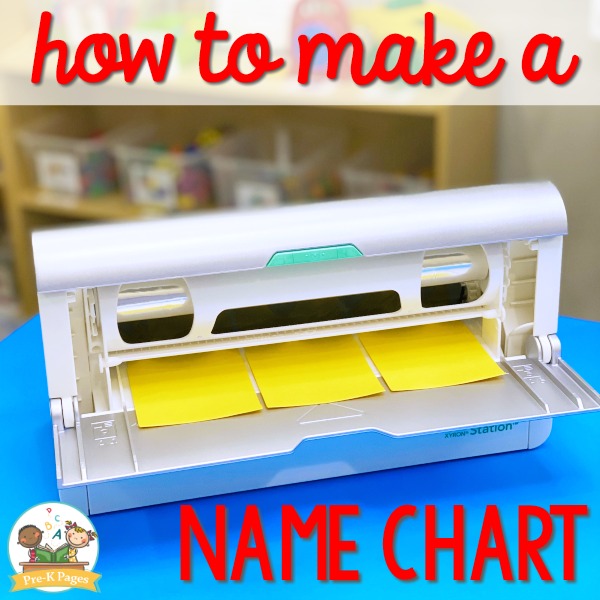
There are a couple different ways to make your chart, the method I’m going to explain for you here uses a Xyron. You can also make this chart using a glue stick if you don’t have a Xyron.
Start by printing your name cards and labels on card stock paper. To create the labels, print your student name cards smaller, 4 sheets to a page. This way, the labels will match the cards perfectly. Cut out your name cards and labels.
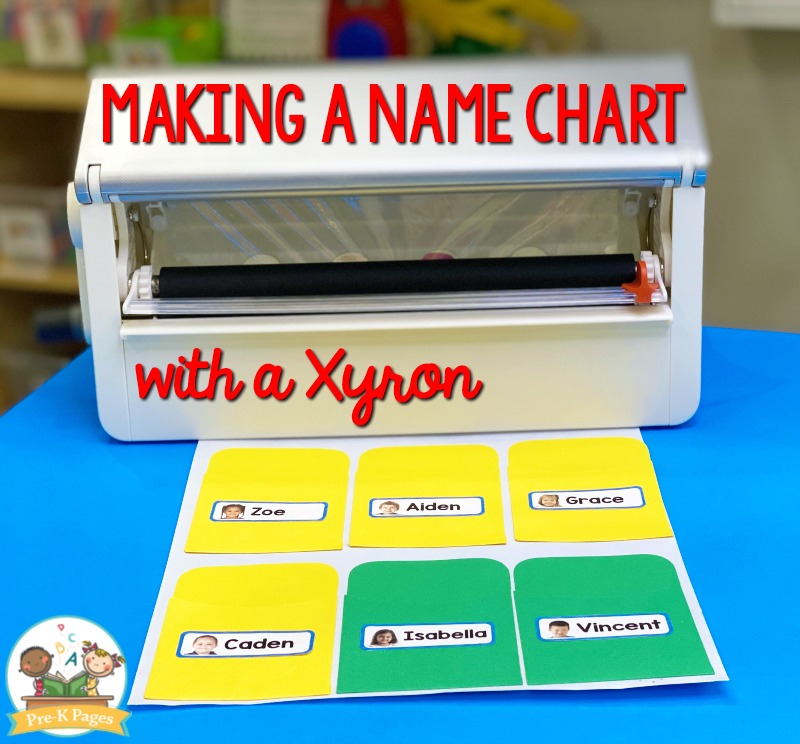
After your student name cards and labels cut out, then you’re ready to run your library pockets and labels through your Xyron. This part is the most fun because it’s like magic! Just place the cards on the flat space, turn the crank, and they’ll comes out the other end with sticky backs.
Using a Xyron in the Classroom
Peel the labels off the backing and place them on the pockets. Then, peel the pockets off the backing and attach them to the poster board. It’s always best to add several extra pockets just in case you get new students throughout the year.
Finally, run your poster board through a large laminating machine. You’ll need a machine big enough to fit a poster board. If you don’t have a large laminating machine at your school, you can take your chart to a teacher supply store or an office supply store to have it laminated.
After your chart is laminated, you can use your X-Acto knife to cut the library pockets open at the top.
Place the chart in or near your writing center so the name cards will be easily accessible to your students whenever they need them.
The name cards are also used as a model whenever students want to write their names. For example, when a child wants to write his or her name on something he did in the writing center, he can get his name card to use as a model.
Watch the Video
If you like this teaching tip, check out my membership site, Teaching Trailblazers, where teachers just like you are connecting to save time, teach better, and live more.
More Teaching Tips

![[Image: How to prevent kids from biting]](https://www.pre-kpages.com/wp-content/uploads/2022/10/EEC066_wide-NEW-500x500.png)
I use environments.com’s labels and give each child an animal to use in the same way you use the stickers. Cute!