
Did you know there’s a proper sequence to teaching scissor skills in preschool? Follow this step-by-step sequence of 7 developmentally appropriate cutting activities for preschoolers. With the right kind of cutting practice, your kids will be more successful establishing their scissor grasp and eventually cutting with scissors. With well developed fine motor skills your children will be ready and able to cut like pros!
Keep reading to grab your free, printable scissor skills checklist!

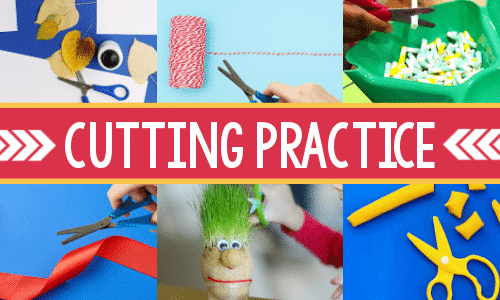
7 Essential Cutting Activities for Preschoolers
This is the order in which cutting skills should be introduced to preschoolers and toddlers.
- Rip
- Snip
- Fringe
- Straight lines
- Zig zag lines
- Curved lines (circles, waves, hearts)
- Right angles (squares and rectangles)
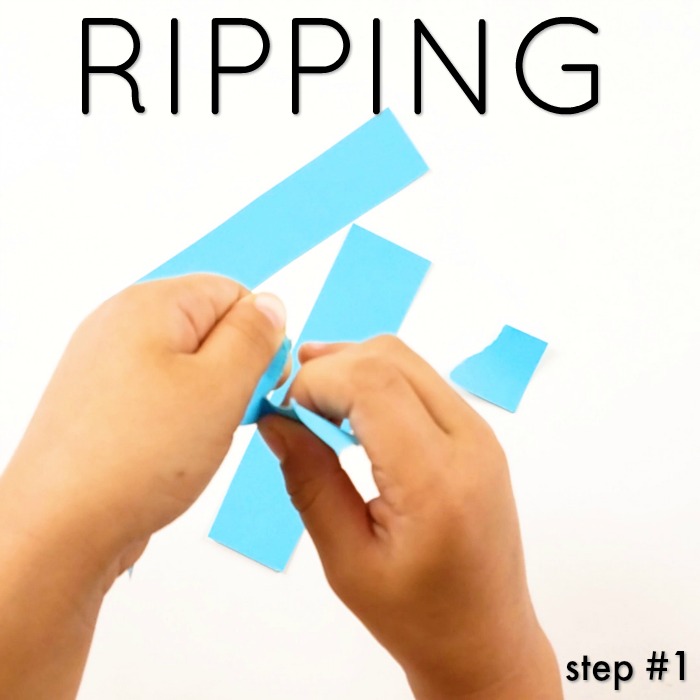
1. Rip Paper
Ripping sturdy paper such as construction paper is the perfect activity for young kids to engage in before being introduced to scissors. Children exercise their tripod grasp- or their thumb and first two fingers as they grip the paper to rip it. Ripping also requires preschoolers to move their hands in opposite directions at the same time which helps develop bilateral coordination skills. Cut sturdy paper into strips and invite children to rip away! When they demonstrate they are ready, move to larger pieces of paper.
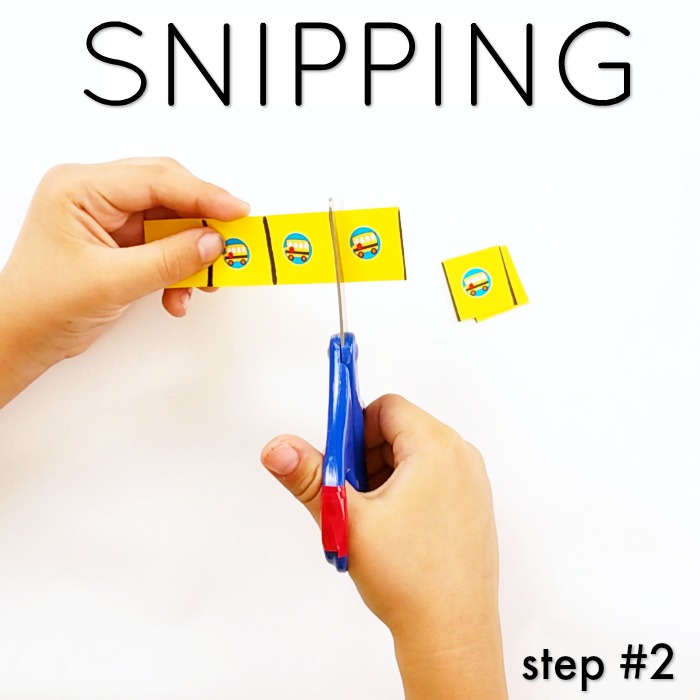
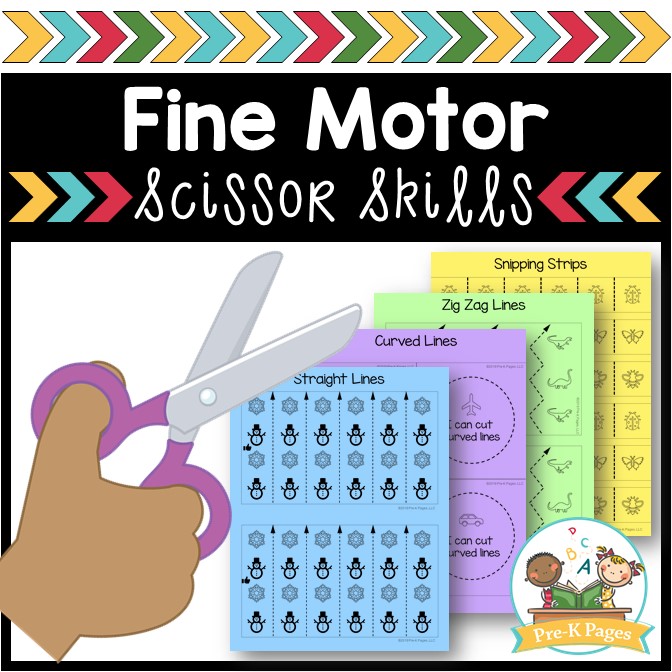
2. Snip with Scissors
Snipping is the act of opening and closing the scissors one time only which results in successfully cutting something. Snipping will help your young preschoolers develop the muscles in their hands necessary to cut longer lines later so their hands won’t become fatigued.
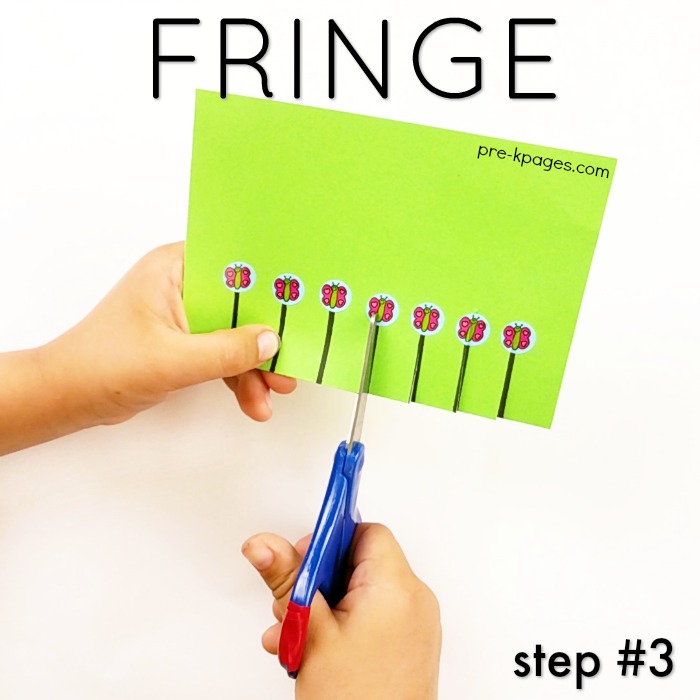
3. Use Scissors to Cut Fringe
Fringe is repetitive snipping without cutting the paper in half. Use a ruler to draw evenly spaced lines from the bottom of a square piece of green construction paper up two inches. Then, place stickers at the top of each line. Invite your kids to fringe the paper by cutting on the lines and stopping at the stickers.

4. Cut Straight Lines
Once children have mastered the first three, then they start working on cutting straight lines from point A to point B. This requires that they open and close the scissors multiple times per cut, which is much more difficult than snipping or fringing. Don’t be surprised if they complain of fatigue in their hands. Fatigue indicates that they still need more practice with scissors to develop those fine motor skills.

5.Cut Zig Zag Lines
Next up are zig zag lines. Zig zag lines are more difficult to cut because they require the child to turn the paper or their hand as they cut. This is a much more advanced cutting skill than snipping or cutting straight lines and can lead to hand fatigue quickly. Be sure your toddlers and young kids are really ready before introducing zig zag lines.
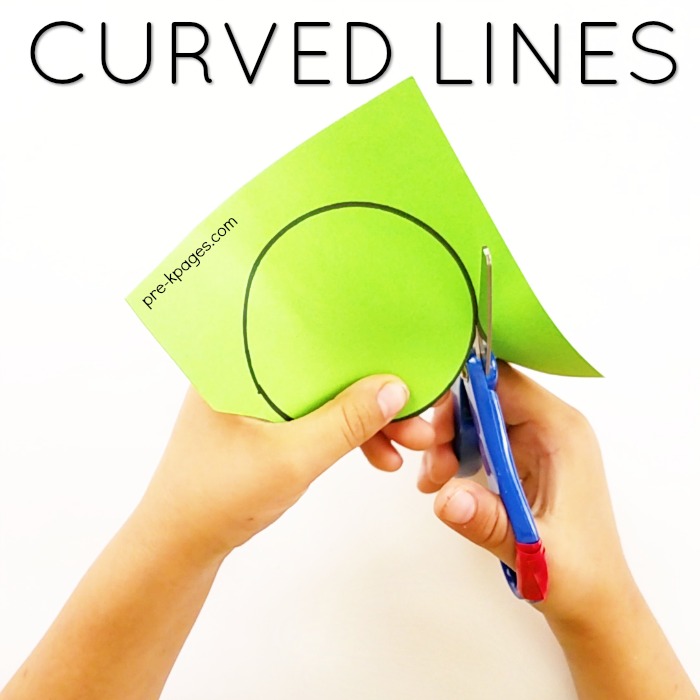
6. Cut Curved Lines
Even more difficult than zig zag are curved lines. These lines can be very tricky for young children to cut, it’s best to wait until they have developed the muscles in their hands to accomplish this challenging task. How do you know if your kids are ready for curved lines? Observe them ripping, snipping, fringing, and cutting on straight and zig zag lines. If they can do those things, then they may be ready to move on.
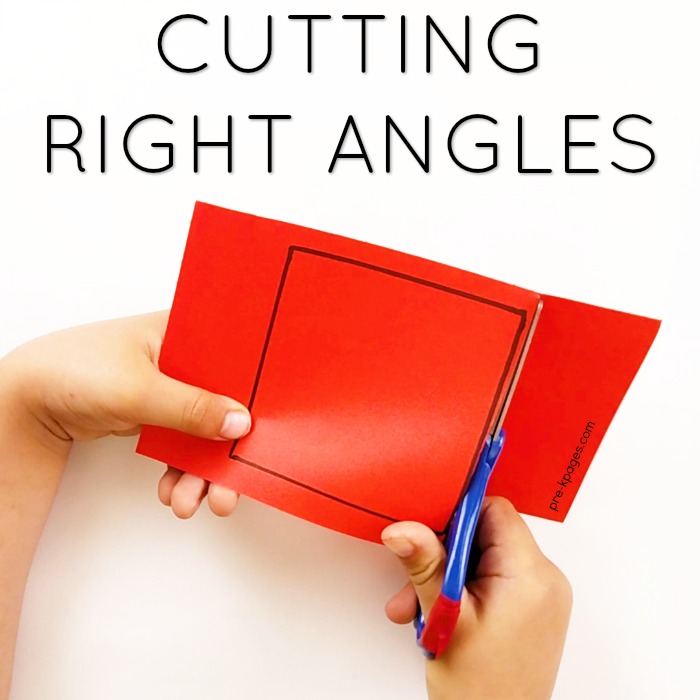
7. Cut Right Angles
Cutting squares and rectangles can also be challenging for young children. Trying to turn the paper is always challenging and they instinctively try to turn their arms instead. You may need to practice cutting curved and right angles with your kids, demonstrating how to hold the paper and turn it as you cut. It will take lots of practice before your preschoolers master cutting curved and right angles.
More Preschool Activities to Practice Scissor Skills
You incorporate the above essential cutting skills into your themed lesson plans with these fun activities!
1. Halloween Cutting Practice
These activities are fun experiences for October that will help build fine motor skills. These are perfect for a fall theme or Halloween theme.

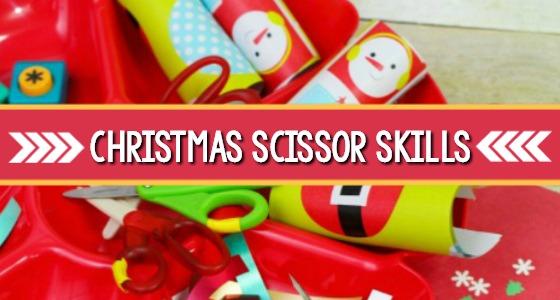
2. Christmas Scissor Cutting Skills Practice
Here are some Christmas cutting skills so you can make cutting fun and exciting for your preschoolers with a Christmas theme.
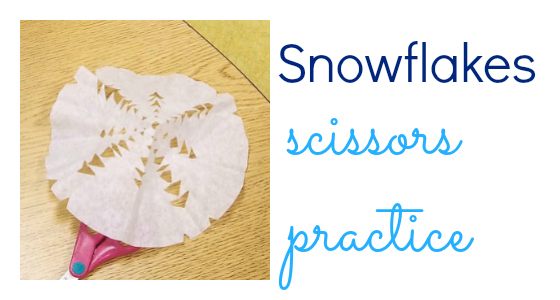
3. Snowflakes Scissors Practice
Cutting snowflakes is a great winter theme activity for developing important scissors skills. Providing a variety opportunities to use scissors at home or in the classroom helps preschoolers and toddlers develop confidence in their abilities and control in using their fine motor skills.
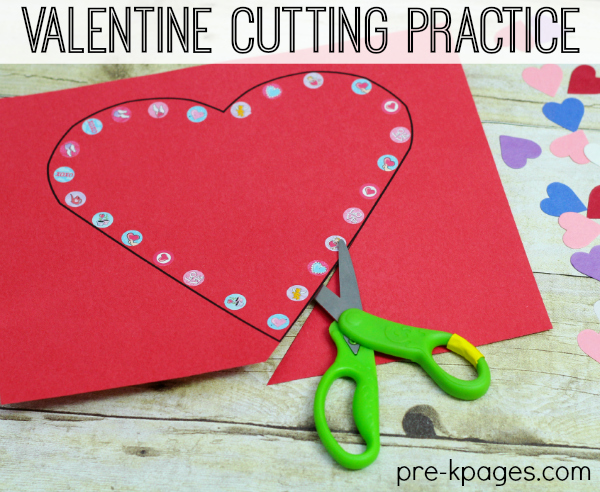
4. Valentine Fine Motor Scissor Skills Activity
Valentine’s Day doesn’t have to be all about romantic stuff, there are plenty of ways to provide educational activities that easily tie into this popular holiday. Here are some fine motor activities for preschoolers with a fun Valentine’s Day twist!
5. Spring Fine Motor Cutting Practice
Do your kids have Spring fever? You can quickly and easily spice up your Spring theme with these high-interest fine motor activities. And, since most of these items are from the dollar store, they won’t break the bank either.

6. Planting the Rainbow Cutting Activity
Preschoolers are fascinated by gardens full of colorful flowers! Pair this color word activity with the beloved children’s book Planting a Rainbow by Lois Ehlert. Your older preschool or kindergarten kids will delight in working on scissor skills as they create their own garden rainbow!
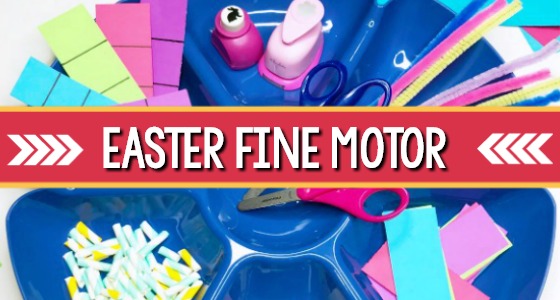
7.Easter Cutting Skills Tray
This Easter themed cutting skills tray will provide your kids with plenty of fine motor practice. These activities will help your children build fine motor skills in fun and playful ways, so they won’t even know they’re learning.
Preschool Cutting Pages
1. Fine Motor Practice Cutting Pages Bundle
Do your kids need help with scissor skills? Are they lacking fine motor skills? This bundle includes an entire year of thematic scissor practice for your young preschoolers.
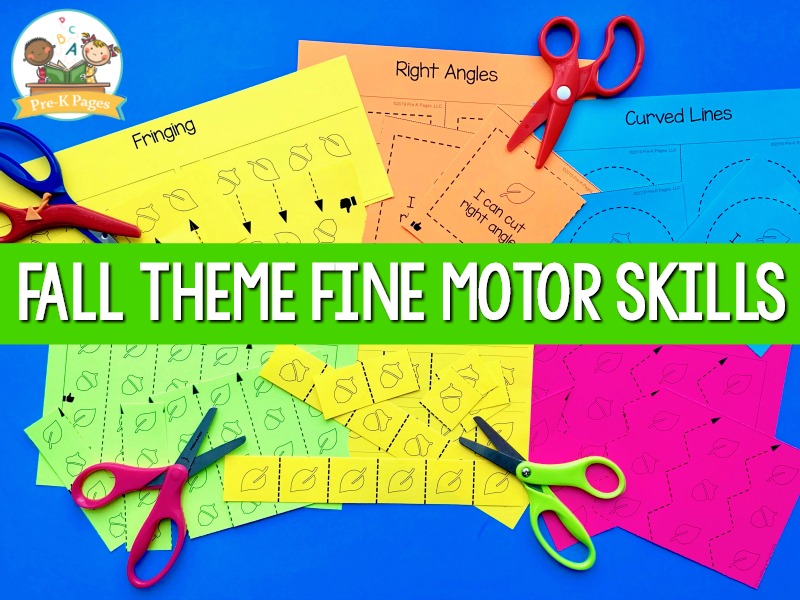
2. Fall Fine Motor Skills Cutting Pages
Are you looking for fine motor activities for your fall theme? Teaching your preschoolers to use scissors can help them develop fine motor skills and pre-writing skills. This fall themed fine motor tray will help you easily differentiate your instruction by introducing scissors to your kids in a way that meets them at their individual stages of development.
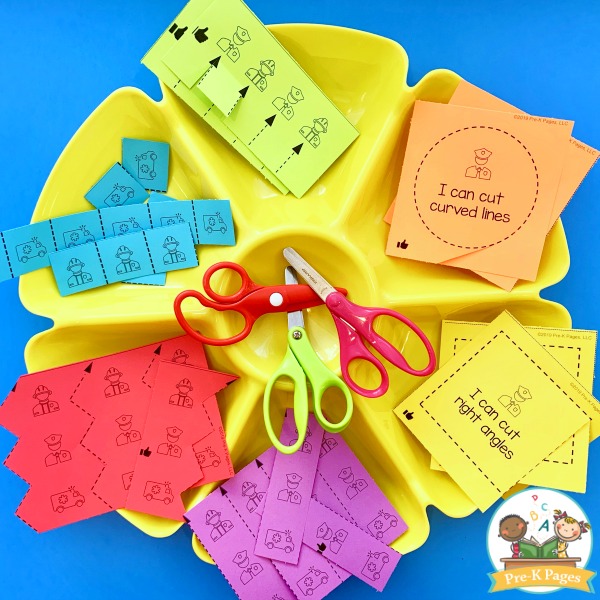
3. Community Helpers Printable Cutting Practice Activity
Need fine motor activities for your community helpers theme? Scissor skills in preschool are a great way to develop those important fine motor skills, but they can be the tricky to teach! This community helpers fine motor tray will help you introduce scissors to your kids in a way that meets them at their individual stages of development.
4. Pets Theme Cutting Practice Sheets
Need fine motor activities for your pets theme? Teaching scissor skills in preschool and kindergarten is a perfect way to help your students develop fine motor skills. This pet themed fine motor tray will help you introduce scissors to your kids in a way that meets them at their individual stages of development.

5. Winter Cutting Sheets for Preschool
Are you looking for fine motor activities for your winter theme? Scissor skills in preschool are an important part of developing fine motor skills, but they can also be the trickiest to teach! This winter fine motor scissor skills tray makes introducing scissors to your kids much easier.

The Teaching Trailblazers
But teaching scissor skills in only one small part of a preschool teacher’s job. The best place to discuss teaching best practices and get the support you need is in the Teaching Trailblazers. We have many printable lessons and on-demand video trainings to help you be the best teacher you can be! If you want to get on the waiting list for the Teaching Trailblazers, do it soon so you don’t miss the next open enrollment period!
Free Printable Scissor Skills Checklist

Don’t Miss the Best of Pre-K Pages
Alphabet Sensory Play
What’s in Your Dramatic Play Center?
More Tips for Teaching Scissor Cutting Skills

![[Image: How to prevent kids from biting]](https://www.pre-kpages.com/wp-content/uploads/2022/10/EEC066_wide-NEW-500x500.png)

L.O.V.E.
If I’m trying to gage if my child is behind on cutting skills, what ages would she be at for to the different skills?
This may help: https://www.cdc.gov/ncbddd/actearly/milestones/milestones-4yr.html
Teach kids to cut in a counterclockwise direction if right-handed and clockwise if left handed. This lets them use the wrist effectively. Also draw a face on a big circle. Have the child make him “stand on his head” by rotating the plate the same direction he would cut and continue rotating until upright again. This teaches hand shifting needed to rotate for cutting, while not worrying about managing scissors at the same time.
You can fold a strip of green paper lengthwise and have them snip repeatedly to the fold. This makes green grass to glue to the bottom of pictures. Turn it around and apply glue only below the fold so the grass is 3D.
Also when teaching tearing, tear the first half inch of each tear. This makes it much easier for the paper to rip. You can stop doing this once the child understands the needed motion.