
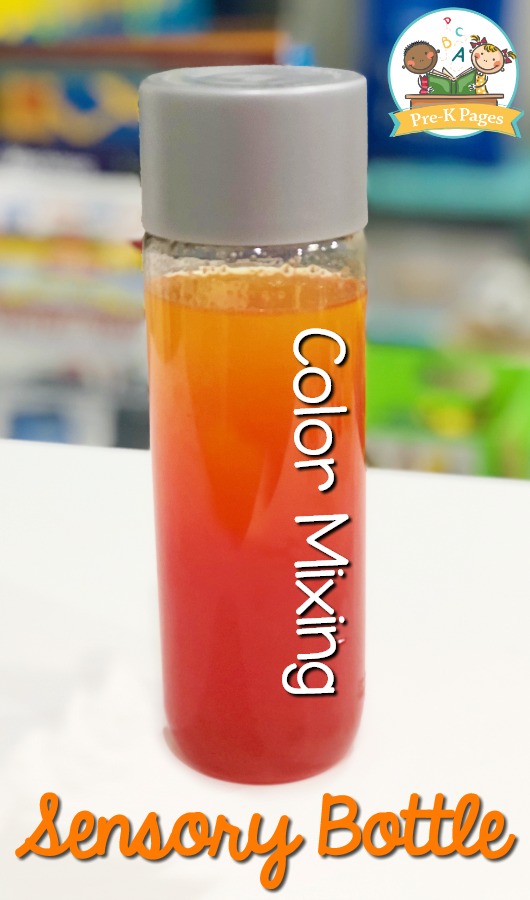
This fun sensory bottle with oil and water will help your kids learn about colors, and they’ll also have a blast shaking the bottle and making pretend “flames.” You could use this to support your fire safety theme. Don’t you just love it when you can combine learning and fun? But making these DIY sensory bottles can be tricky, so keep reading for the step-by-step directions.
But making these sensory bottles using baby oil can be tricky, so keep reading for the step-by-step directions.
How to Make DIY Sensory Bottles with Oil and Water
Several years ago Dr. Jean shared a sensory bottles with baby oil recipe; I gave it a try and it worked! I did tweak a few of the ingredients from the original recipe because they were easier to find.
You may also be able to find these types of sensory bottles with oil from school supply stores, but they are pricey. Don’t get me wrong, I ordered a set one year after I held a garage sale to pay for them (#truestory) and they were worth every penny.
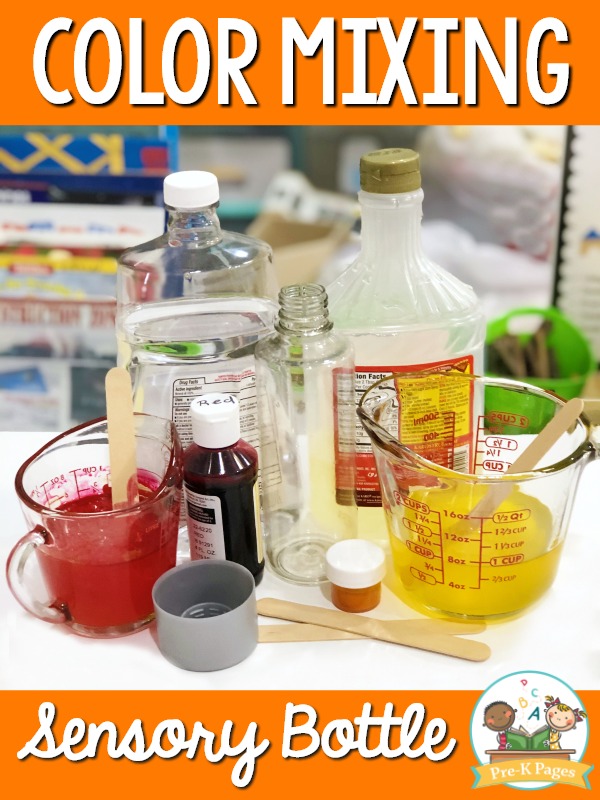
Color Mixing Sensory Bottle Ingredients
Let’s start with the ingredients you’ll need to make your own orange sensory bottle with oil. Be sure to save or pin this blog post so you’ll have the ingredients available on your mobile device while you’re shopping.
- Water
- Mineral Oil
- Red Liquid Watercolors
- Empty Plastic Water Bottle (I like the small plastic VOSS water bottles)
- Hot Glue Gun or Duct Tape
- Liquid Measuring Cups
- Spoons or craft sticks for stirring
- Oil Based Food Dye (Wilton Primary Candy Dye – Yellow)
1. Measure and Pour the Corn Syrup
Here’s the thing about this bottle, it’s not hard to make, but the steps have to be followed exactly in order for it to work. Are you ready to get started?
First things first, you’re going to find out how much liquid your bottle holds and divide that number in half – I know, math!
Next, you’re going to pour that amount of corn syrup into your liquid measuring cup PLUS a little more. Because corn syrup is so thick some of it will stick to the insides of the liquid measuring cup when you pour it into the bottle. Adding extra corn syrup will ensure that you end up with the right amount in your bottle – are you with me so far?
Check out this research-based, playful learning unit in our curriculum shop!
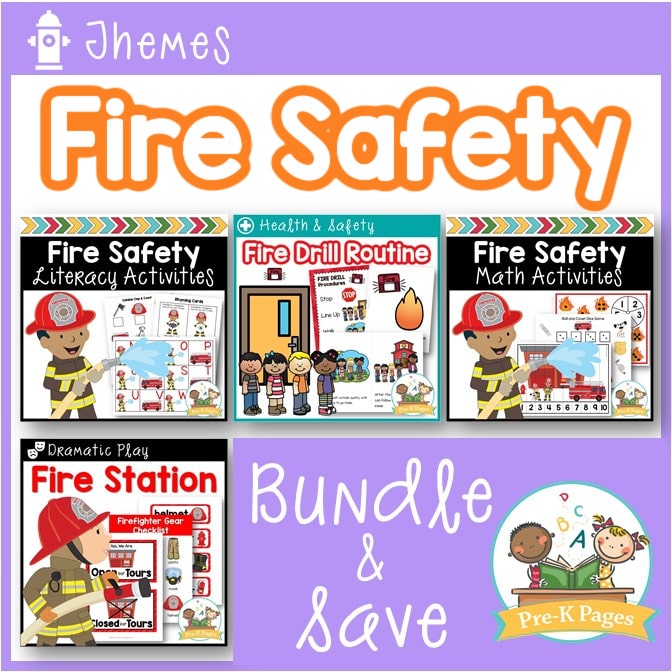
Fire Safety Bundle
A bundle of 7 of my best-selling fire safety resources, including math, literacy, and fire station dramatic play! Make learning fun with these hands-on resources!
2. Mix in the Color
Now you’re ready to add your red liquid watercolors to the corn syrup in your liquid measuring cup. I used craft sticks to mix my ingredients because they’re what I had on hand, you can use a spoon if you prefer. Just 2 or 3 drops of liquid watercolor will be plenty unless your bottle is really large, in which case you can add a drop or two more.
Mix the corn syrup and the liquid watercolor together in the measuring cup and then pour it into your sensory bottle. Whew! You’re halfway there, don’t give up on me now – you’ve got this!
3. Add the Baby Oil or Mineral Oil
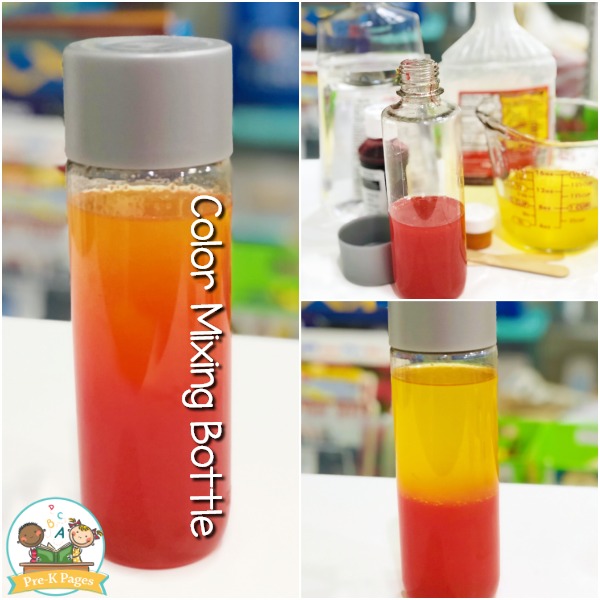
In another liquid measuring cup, add the correct amount of mineral oil according to the math you did in the previous step. Then, add a few drops of yellow food dye to the mineral oil and mix.
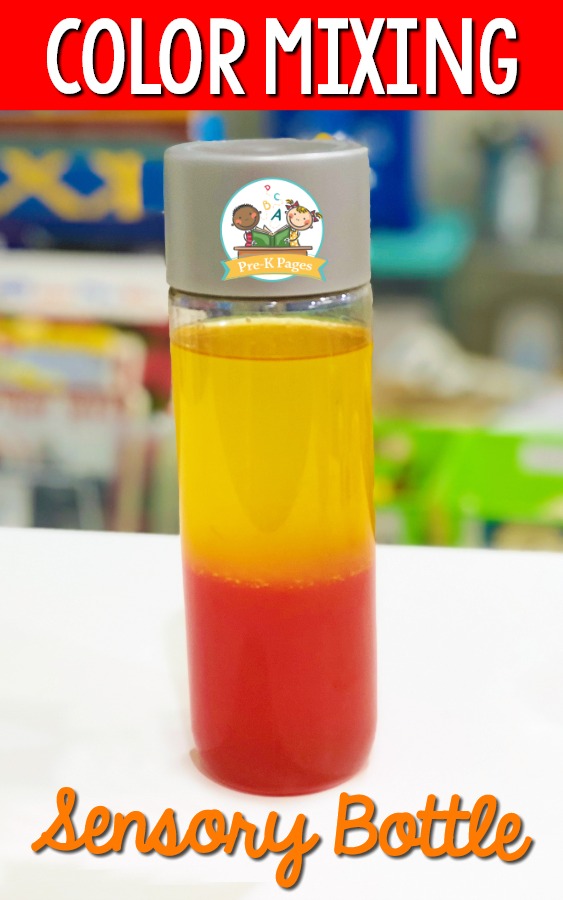
When your mineral oil and food dye are mixed thoroughly, pour the mixture into your sensory bottle. Now you should have a red layer on the bottom of your bottle and a yellow layer on top. Be sure to leave a little empty space at the top to allow the two liquids to mix together when you shake the bottle. Hooray! You did it!
4. Seal the Sensory Bottle
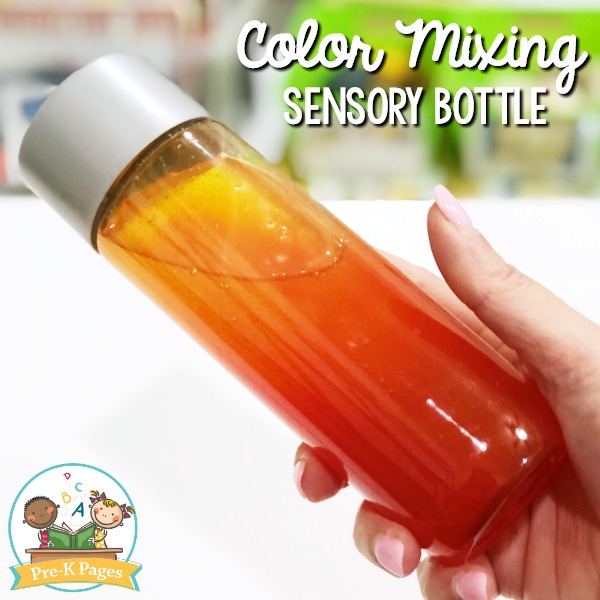
The final step is to seal the lid on the bottle. The VOSS bottles are known for lids that crack so use duct tape to seal your lid. If you’re using another type of bottle you may consider using a hot glue gun to seal your lids. It doesn’t really matter what you use, as long as the lid is sealed on tightly so little fingers can’t pry it open. Shake your bottle and watch the colors mix!
Common Questions About Making Sensory Bottles with Oil
Any type of recipe always results in a million questions, so here are some of questions I am asked most often about recipes I share here at Pre-K Pages.
Where can I find mineral oil? Your local grocery store or pharmacy should carry mineral oil. I found it at my local pharmacy for less than three dollars for a large bottle. Mineral oil is similar to baby oil without the fragrance.
Where do I find red liquid watercolors? You can find red liquid watercolors on Amazon or from your favorite online teacher supply store.
Where do I find oil based food dye? This is where it gets a little tricky. Some craft stores carry this product under the name Wilton Primary Candy Dye, but they may or may not have it in stock in your area. Amazon is another source for Wilton Primary Candy Dye.
Where do I find VOSS plastic water bottles? These can also be difficult to find. If you want the smaller, child-friendly sized VOSS bottles they’re extremely difficult to find in stores. You can try your local grocery stores and gas stations, but your best bet is probably Amazon.
Is Mineral Oil and Corn Syrup Safe for Sensory Bottles?
I know exactly what you’re thinking! Are any of these ingredients toxic? Here’s what Chemical Safety had to say about mineral oil:
We know corn syrup is used in many foods and therefore considered non-toxic. Just because some of the ingredients are non-toxic doesn’t mean that you shouldn’t use close supervision when introducing color mixing sensory bottles in the classroom. It’s always best to err on the side of caution so I suggest checking the early childhood program safety regulations for your specific program to find out if they prohibit the use of mineral oil.
This sensory bottle is perfect to make during fire prevention week. Im wondering if you can mix other colors such as blue and yellow to make green. Also, do you think i can use food color instead of candy dye?
Yes, you can definitely do other colors like blue and yellow! You can try regular food dye, but it might not work as well.