Ever since my first colored duct tape project where I made a Ziploc quilt math game I’ve become fascinated with the stuff.
The possibilities for using duct tape in the classroom are endless and those Michael’s coupons just keep coming so what’s a girl to do?
I’ve mentioned my lack of talent in the crafting department before but I do love to save money and re-purpose things and this project fits the bill nicely.

DIY Dry Erase Pockets
This simple dry erase pocket was made using laminate film remnants and duct tape. Of course, I could use simple page protectors but they drive me nuts because they are so flimsy and don’t hold up very well.
Click here to learn about more teaching hacks!
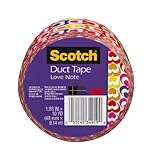
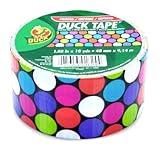
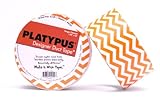
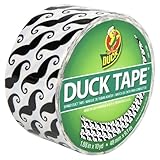
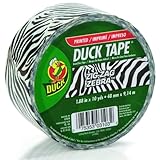
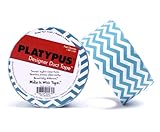
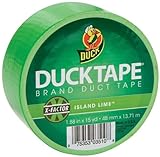
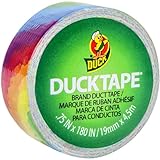
Designer Duct Tape
Check out all these great duct tape designs!
 |
 |
 |
 |
 |
 |
 |
 |
DIY Dry Erase Pocket Directions
To create a sturdier page pocket I started with some leftover, thick laminating film and cut it into two sheets, each 9 x 12.
Next, I placed the laminate sheets on top of each other. Then, I cut strips of colored duct tape and used them to attach the two pieces of film together on three sides.
I left the top open so a piece of paper can be slipped inside. I could have also put duct tape on the top of each sheet of film so there would be equal borders.
These DIY dry erase pockets are similar to those sold in commercial teacher stores but can be made for only a fraction of the cost.
I use recording sheets and lots of games which can be easily slipped into these pockets to save on laminating costs. The pockets can be written on with Vis-a-Vis or dry erase markers and erased.
More Classroom DIY Projects
DIY Crate Seats
DIY Shelves and Cubbies
DIY Puzzle Storage Rack
Follow my DIY Classroom board on Pinterest for more great ideas!
Available in the Store