
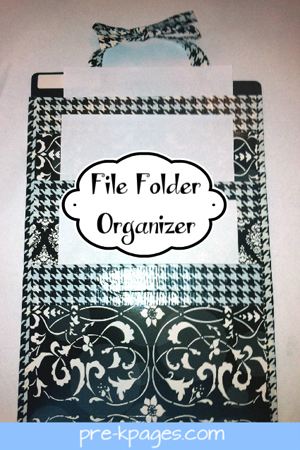


DIY Vertical File Folder Organizer
In this tutorial you will learn how to make your own vertical file folder organizer to match your classroom theme. It’s not difficult and it’s very inexpensive but you do have to follow the steps carefully to get it spaced evenly.

Supplies
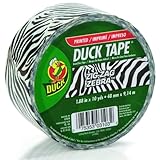
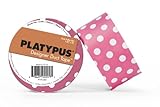
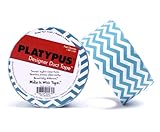
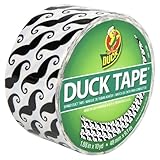
- Designer duct tape — design to match your theme
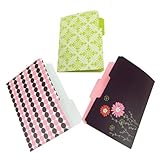
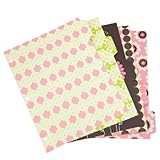
- Designer file folders — design to match your theme OR you could glue scrapbook paper to the front of regular file folders
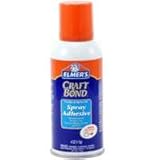
- Spray adhesive — this is not absolutely necessary, you could use regular glue but it is quick and easy
- Scissors
- Stapler
 |
 |
 |
 |
 |
 |
 |


File Folder Organizer Directions: Step 1
First, take the folder that will be on the bottom of your organizer and open it. Then, place the second folder inside the first. You will want to space the second folder up far enough so that a piece of paper sitting in the bottom pocket won’t cover the top of the second pocket. Once you have your second folder positioned where you want it, make a line with a pen or pencil along the bottom so you will know where to apply the glue. Next, cover the inside of the first folder with your spray adhesive above the line. Finally, firmly press the second folder in place. Continue on in this manner until you have the desired number of pockets for your hanging file organizer. The one pictured here has only three pockets but you can make one with more pockets.

File Folder Organizer Directions: Step 2
Once you have all of your pockets glued in place, fold down the tabbed front of each pocket and secure with glue. If your folders are thick you may need to cut the tabs off instead.

File Folder Organizer Directions: Step 3
Next, we will begin preparing the hanging part of the organizer which is a “ribbon” or strap made from duct tape. Cut two strips of duct tape to your desired length and lay sticky side up on a flat surface. You could just use one strip if you don’t want a bow at the top.

File Folder Organizer Directions: Step 4
Then you will fold each side of the tape in towards the middle. When the strips are complete, use a stapler to attach them to the back of the top folder by sliding your stapler inside the top pocket.

File Folder Organizer Directions: Step 5
Add strips of duct tape along the sides of the organizer to create the pockets. Then, add a strip of duct tape across the top of each pocket. Now papers can be inserted into each pocket upright. You can also add labels to designate the contents of each pocket.
There you have it, an easy, do-it-yourself file organizer to hang on the wall of your classroom that you can customize to match your classroom decor!
Follow my Classroom Organization board for more great ideas!
Follow Vanessa @pre-kpages.com’s board Classroom Organization on Pinterest.


