


One of the most iconic children’s picture books of all time is Chicka Chicka Boom Boom by Bill Martin Jr. and John Archambault. This classic story is read by preschool and kindergarten teachers and enjoyed by children around the world each year. This early literacy powerhouse is often the inspiration for children learning to identify letters for the very first time.
Today I’m sharing the perfect companion activity inspired by the book Chicka Chicka Boom Boom. It doesn’t take long at all to put together this easy DIY magnet letter tree that your kids will love all year long.
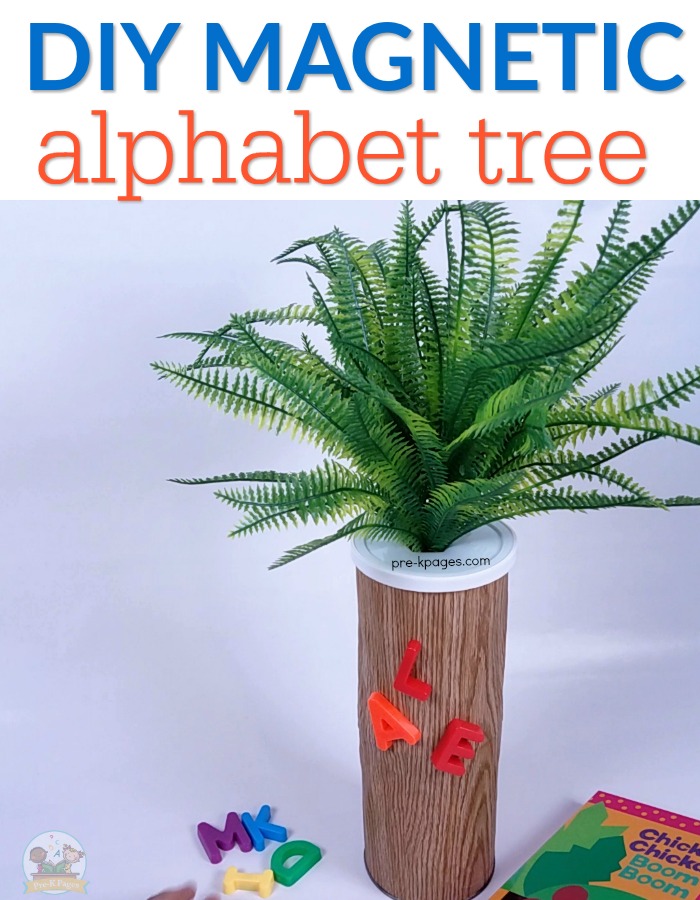
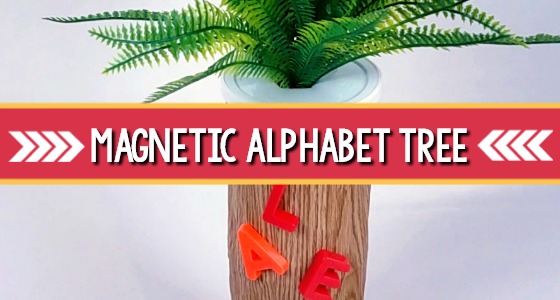
Chicka Chicka Boom Boom Magnetic Alphabet Tree
Start by reading the book Chicka Chicka Boom Boom by Bill Martin Jr. and John Archambault aloud to your class. Because this book is so fun and engaging you may choose to read it several times throughout the week.
Once the children are very familiar with the rhythm, rhyme, and repetition of the story, you can introduce them to the tree.
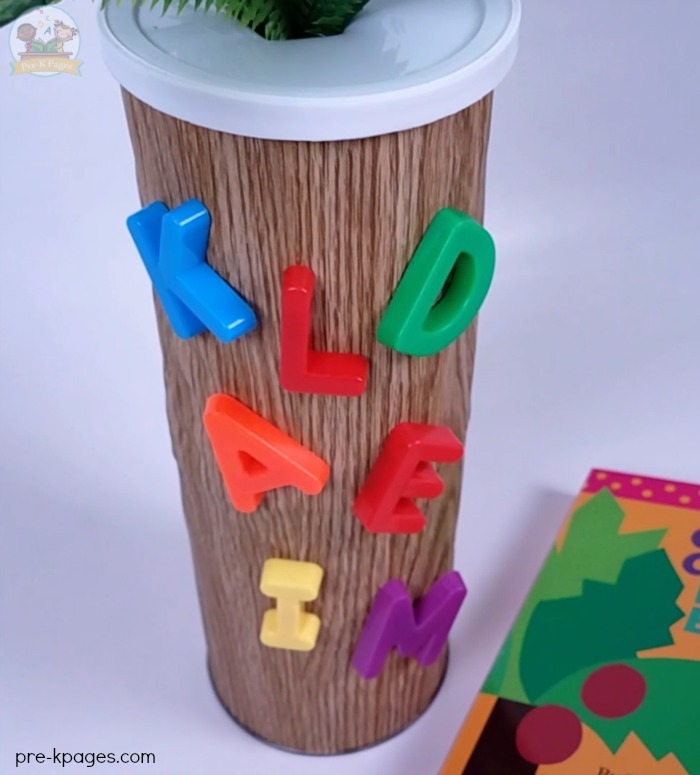
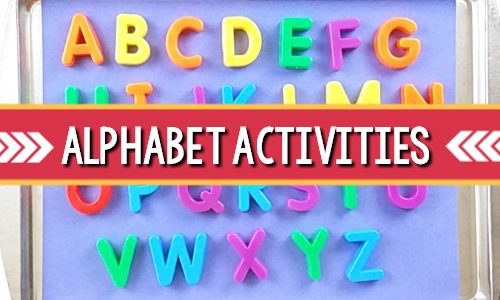
Give one magnetic letter of the alphabet to each child in your class. As each child chooses a letter you may want to scaffold for support by saying something like, “Look at that! Brayden got the letter K!” Model how the children should listen as you tell the story holding the tree, when they hear the name of the letter they are holding, then can place it on the tree.

Chicka Chicka Boom Boom Tree Supplies
Here are the supplies you will need to make your own Chicka Chicka Boom Boom inspired tree for magnet letters.
- Metal cans (any metal cans will work for this project- vegetable and fruit cans, formula cans, coffee cans…)
- Magnetic letters (you can buy larger letters if you’re concerned that these are too small)
- Tape
- Fake fern (dollar or craft store)
- Contact paper
- Scissors

How to Make a Chicka Chicka Boom Boom Tree
To create your tree you will first need to tape your metal cans together; duct tape or packing tape work well for this purpose.
Next, roll out the Contact paper, measure, and cut the paper to size.

Then, carefully peel the backing away from the Contact paper and gently roll the “tree” onto the sticky paper.

When you have successfully covered your tree in Contact paper, you will need to smooth the paper out to get rid of any bubbles or wrinkles. Now, use a knife to make a hole in the top of the lid and insert the fake fern plant. You can secure the lid with hot glue and the fern with floral foam or hot glue if you prefer.
Get the Printable
There’s also a printable recording sheet freebie for this activity to provide your students with visual discrimination practice. Students will use bingo dot markers to mark the magnetic letters they put on the tree. As they seek and find the letter on their sheet that matches the one in their hand, they are practicing visual discrimination skills.
More Literacy Ideas from Pre-K Pages


©2024 Pre-K Pages, LLC Terms of Use


