


How would you like to prevent icky sticky messes anytime you work with glue in the classroom? One top teaching tip I love bringing to the class is using glue boxes! When I switched from white liquid glue to glue boxes, my life changed. No really! My stress level went down, and I even enjoyed doing more art projects. Glue boxes are basically a plastic container with a sponge and white glue inside.
Why Glue Boxes?
Glue boxes prevent children from putting too much glue on the paper and making a huge mess. They also require some problem solving from boys and girls.
Materials
- Liquid white glue
- Sponges (one per box – or cut them in half if large)
- Scissors
- Plastic containers with lids – cheap sandwich size containers work great
- Bleach spray to disinfect periodically
Making Your Boxes
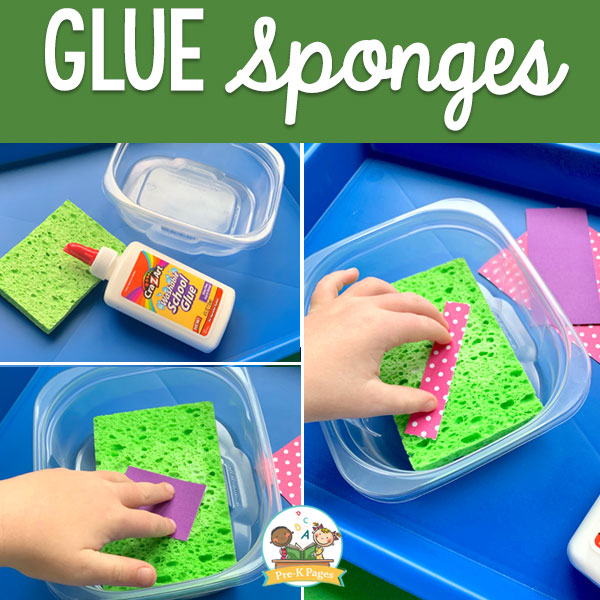
1. Cut sponges to fit inside box. You want enough space so you can get your fingers in between the edge of sponge and the container edge
2. Place sponge in container
3. Pour glue onto sponge
4. Let sit over night with lid on
5. Flip the sponge over the next day
6. Add more glue, if necessary
Tips
- If your glue is old, it might be thick. Add a little warm water to the sponge box to make it runnier. Add a small amount at a time. Once it is too runny, you can’t fix it.
- It will take you a little while to figure out how much glue to add. Start with a little. You can always add more the next day.
- If sponge is dried out, put under warm water first and lightly wring it out before putting in the box.
Glue Boxes in the Pre-K Classroom
How to Use Your Boxes
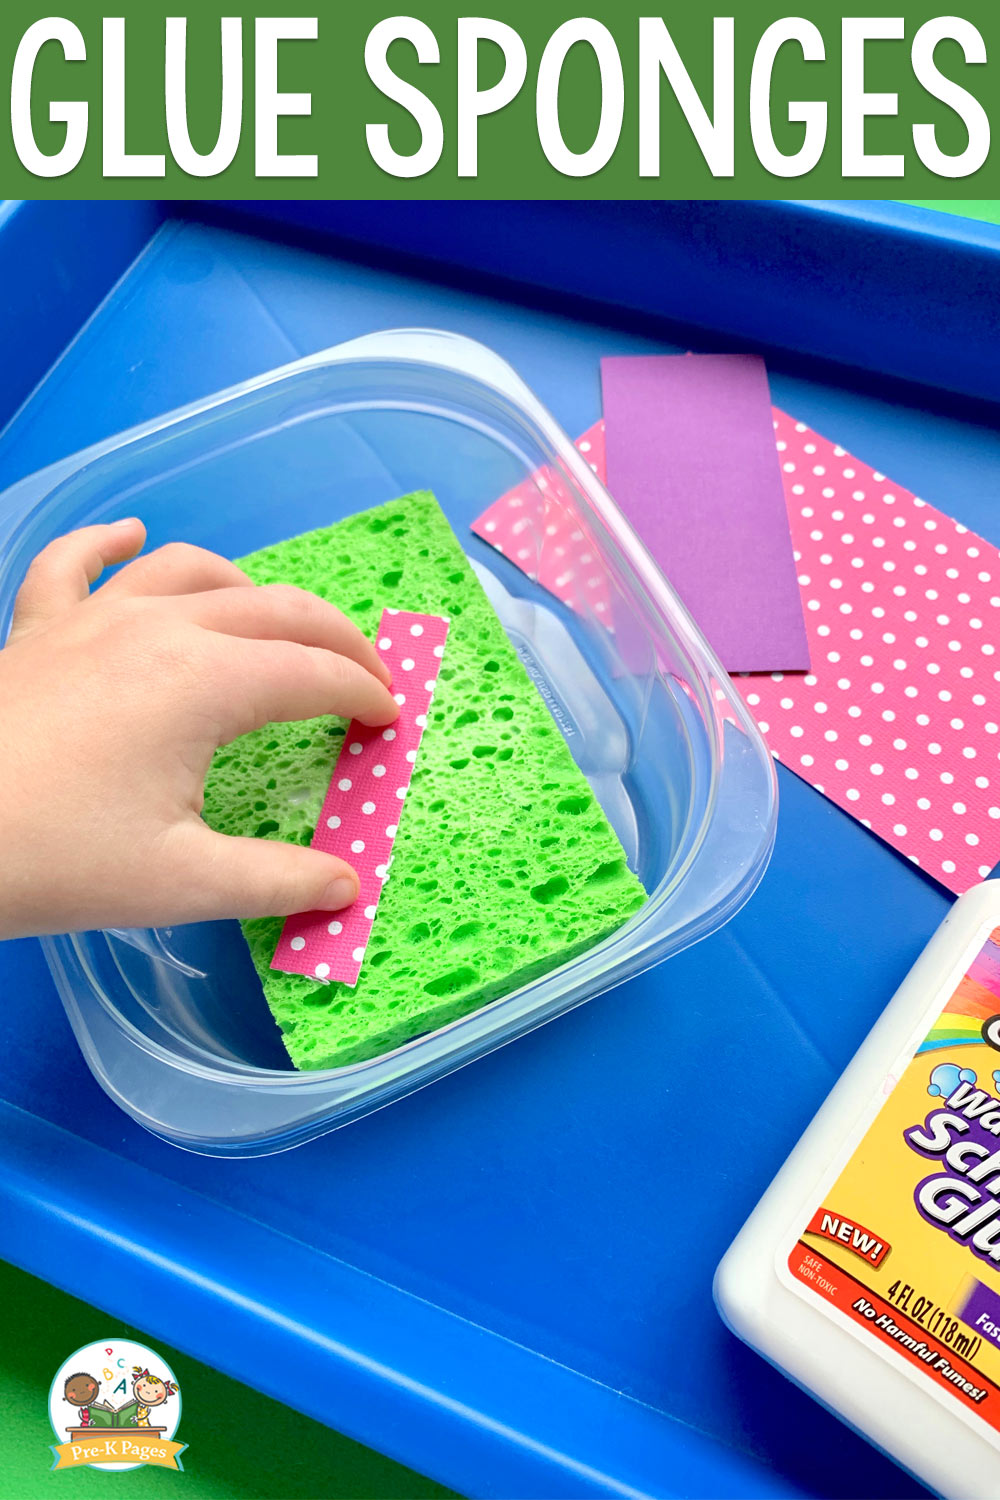
Teach children to put the paper on top of the sponge. Lightly press the paper so it will soak up the glue.
If the paper is larger than the box, kids will have to pick up the paper, reposition it, and replace it on the sponge. This is where problem solving skills are developed.
Place glued paper onto project and tap the paper to help it stick smoothly.
Glue Box Upkeep
When the glue has traveled to the bottom of the sponge and there is not much glue near the top of sponge, flip the sponge over.
Add glue as needed, after you flipped the sponge over a few times first.
Spray the sponge once a week with your normal bleach solution and close the lid. This helps keep the glue from drying out and cuts down on germs.
Glue boxes last for about 6 months. By then, the lids are not fitting as well, and the glue can get thick and goopy.
Note: This will not work for gluing challenging items such as beads, pompom, or pipe cleaners.
Glue boxes are a great alternative to use in the preschool classroom. Try them in your art center or with small group activities. Maybe these boxes will be just what you need to save time and teach better!
Contributed by Carla Goldberg