


It’s that time of year when you see pool noodles everywhere from the grocery store to the dollar store. My first pool noodle project was super easy and there were plenty of noodles leftover.
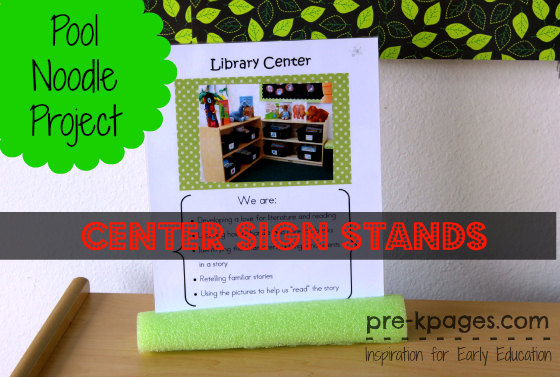
Today I’m going to share how to make center sign stands using pool noodles.

Center Signs
I’m a big proponent of center signs in the classroom for many reasons, but displaying them is always a hassle. I tried the cheap plastic picture frames from the dollar store and my center signs looked fantastic in them, but the minute they hit the floor they cracked. No matter how careful your kids are, you know it’s only a matter of time before those frames hit the floor.
Stapling center signs to the wall is only an option for those centers actually located near a wall. Eventually, I started taping the center signs flat on top of the shelf but that kind of defeated the whole purpose of having the signs in the first place. Then, I realized that pool noodles could be just the solution I was searching for. I’ve included the directions for making pool noodle center sign stands for you below.

Supplies
- Pool Noodle
- Knife
- Ruler
- Pen
How to Make Pool Noodle Center Sign Stands
First, measure the bottom of the sign you want to display. Then, measure a length of pool noodle that is approximately 4-5 inches longer than the base of your sign and cut the pool noodle to size.
Next, you need to cut your pool noodle lengthwise. Use your ruler and pen to make a straight line on top of the noodle to follow when cutting. It is very important to cut in a straight line, if not the base will wobble- trust me, I found this out the hard way.
Once you have sliced the pool noodle lengthwise you will have two pieces to make two identical stands- bonus!
Finally, place the flat side of the noodle on a table and using your ruler; lightly trace a straight line across the top. Use your knife to cut along the straight line leaving about 2 inches at each end uncut. Now you can insert the bottom of your sign into the rounded top of the pool noodle and it will stand up as pictured above.
Tips
It helps if you use the really thick laminate like the type used with the Scotch Thermal Laminator, this will help your sign stand up instead of flop over. It is also helpful if your sign isn’t taller than the base.
Go to the picture below to learn more about my printable Classroom Center Signs.


