


The beginning of school and fall are both great times for an apple theme. This apple handprint art exploration focuses on apple trees.

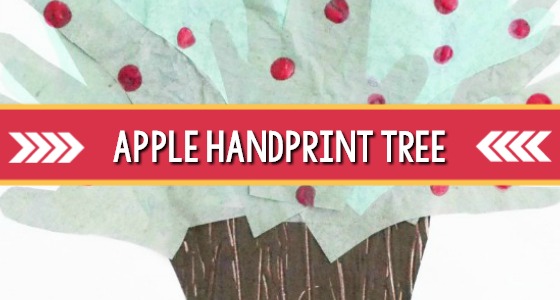
Apple Handprint Tree Craft
Preschoolers can use their hands and fingers to create apple trees. This craft project is a lot of fun because it requires three different layers! These different steps all encourage children to create in different ways.

The Tree Trunk
Materials:
- Paper
- Brown Paint
- Comb
The first layer for the apple tree is the tree trunk. My son and I made this by adding brown paint to a large piece of paper and dragging a comb through it. Top tip: I always tape the paper to the surface for activities like this to keep the paper from slipping.
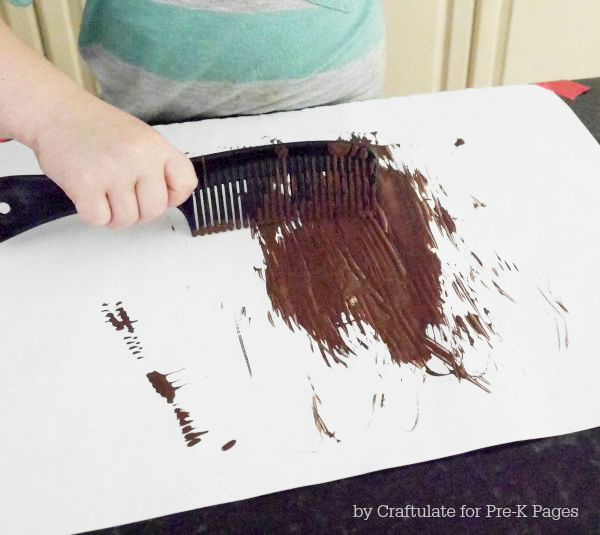
I invited my son to make vertical stripes with the comb to create the tree trunk. Allow children to experiment with the comb and the paint. If they make random stripes, it will still look great!
I told my son that this brown painting would become the trunk of a tree – and I’m not sure that he was convinced at this stage – but I think it was important to let him know that this was only the start of our art project.
Lay the finished painting aside to dry.
The Handprint Leaves
Materials:
- Brown Trunk Painting
- Large Pieces of White Paper
- Green Paper (We used different shades of green tissue paper.)
- Scissors
- Glue Sticks
- Pencils and heavyweight paper such as construction paper (for hand templates)
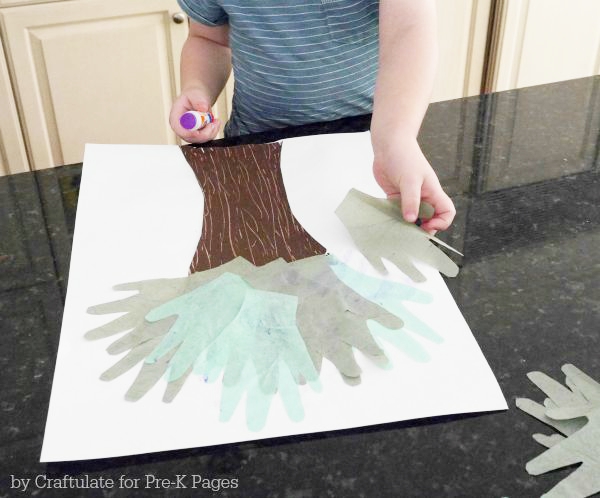
Help children cut out a trunk-shaped section from the brown painting. Invite them to glue it onto a large piece of white paper.
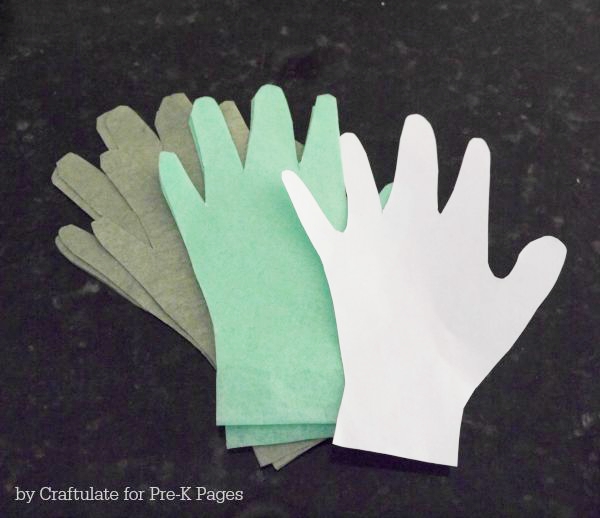
To make the leaves of the tree, I made a template of my son’s hand. (Trace a hand on construction paper and cut it out.)
We fan-folded several layers of the tissue paper. I used the template to cut lots of tissue paper hands. Using tissue paper is great for cutting many layers at once – which saves time when you need a lot! We probably cut out around fifteen hands at one time. Some needed a little neatening around the edges.
If you use green construction paper or other paper, you could trace hands directly onto that paper instead of using a template. Allow children to cut out hands as they are able. (It’s okay if the handprints are not perfect.)
My son used a glue stick to secure the “leaves” to the top of the trunk. I prefer a glue stick for this task as it is less messy than white glue and it holds the tissue paper perfectly in place.
As an alternative: Make handprints using green paint instead of the tissue paper!
Lay the tree aside to dry before the next step.
Apple Handprint
Materials:
- Washable Red Paint
- Completed Tree
I invited my son to dip his finger into the paint and make fingerprint red apples all over the leaves. You’ll notice that I turned the tree upside down so he didn’t have to stretch across the trunk to reach the leaves! This make the process much easier.
As an alternative: Make apples by dipping a pencil eraser in the paint to make apples. (This is a good option for children who may not want to touch the paint.)
Extend this activity by reading a book about apples and apple trees. Choose books that will explain how apples grow, such as How Do Apples Grow? by Betsy Maestro or Apples for Everyone by Jill Esbaum.
This activity would be a fantastic classroom art project for fall and it can be completed over two or three days. It is such fun to see it all come together at the end!
BIO: Georgina is a mom that loves to do lots of activities with her son. She blogs about art, crafts and activities for young children on Craftulate. Connect with her on Facebook, Instagram, Pinterest, and Twitter.