


Do you have any broken crayons at home or in your classroom? Recycle your old crayons and make beautiful new rainbow crayons in the microwave. You can make these at home or in the classroom- no knives or oven necessary! Perfect for a rainbow or St. Patrick’s Day theme.
Recycled Rainbow Crayon Supplies
These rainbow crayons are super easy to make and they’ll provide your kids with plenty of fine motor practice too! To get started making your rainbow crayons you will need the following supplies.
- Old Crayons (Crayola brand works best- broken crayons and crayon pieces work great for this activity)
- Silicone Mold
- Microwave
- Bowl
- Water

How to Make Your Own Rainbow Crayons
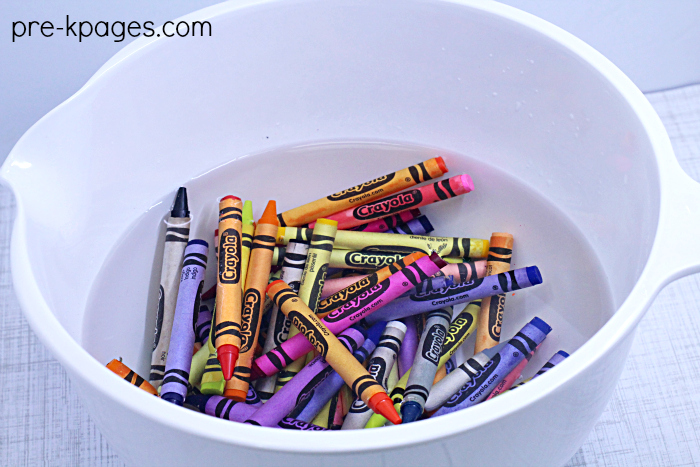
First, place your crayons in bowl and fill the bowl with water until all the crayons are covered. Let the crayons soak overnight.
Next, drain the water out of the bowl and invite your kids to peel and break the crayons into pieces.
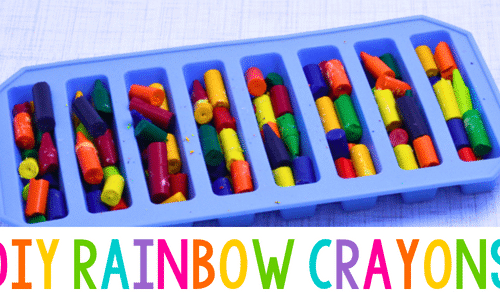
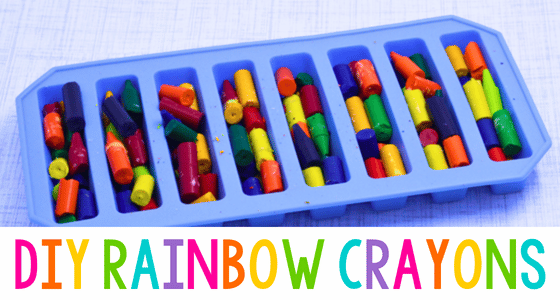
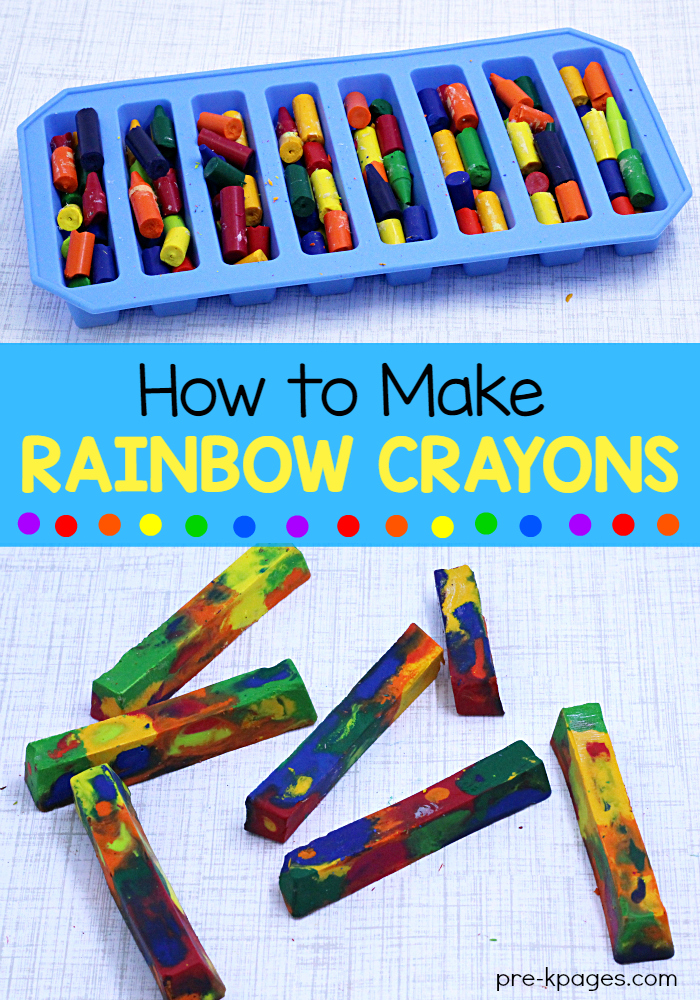
DIY Rainbow Crayons
Then, place the peeled, broken crayon pieces in your silicone mold. I used a mold that was designed to make ice cubes for water bottles. This shape is similar to chunky crayons and creates one flat side that is perfect for what I have in mind.
Check out this research-based, playful learning unit in our curriculum shop!
St. Patrick’s Day Bundle
18 of our most popular St. Patrick's Day resources, including math, literacy, fine motor and more! Make learning hands-on and fun!
Now, place the mold filled with broken crayons in the microwave and cover. Don’t forget the cover part or you may ruin your microwave!

Now here’s the tricky part, because every microwave oven is different, start by setting the timer for three minutes on high first, and then check on their progress periodically.
If they’re not done after three minutes, put them in for two more and so on until most of the crayons look sufficiently melted. The amount of time your crayons need to spend in the microwave will vary depending on your microwave.
When your crayons are thoroughly melted, remove them from the microwave and place them in the refrigerator until they are solid. Mine took about 30 minutes in the refrigerator to solidify.
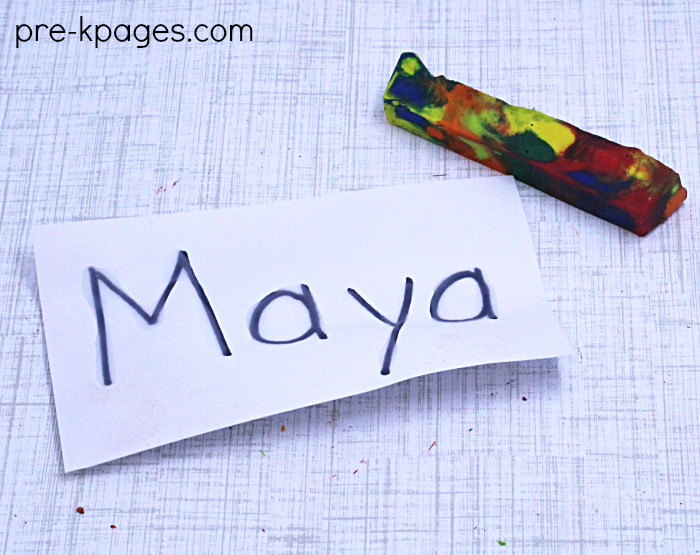
Crayon Rubbing Names
Now that you have your awesome rainbow crayons, it’s time to invite kids to use them!
Start by writing each child’s name on a piece of cardstock with a permanent marker.
Then, squeeze liquid glue over the top of each letter. Allow the glue to dry overnight or longer if you live in a very humid climate.
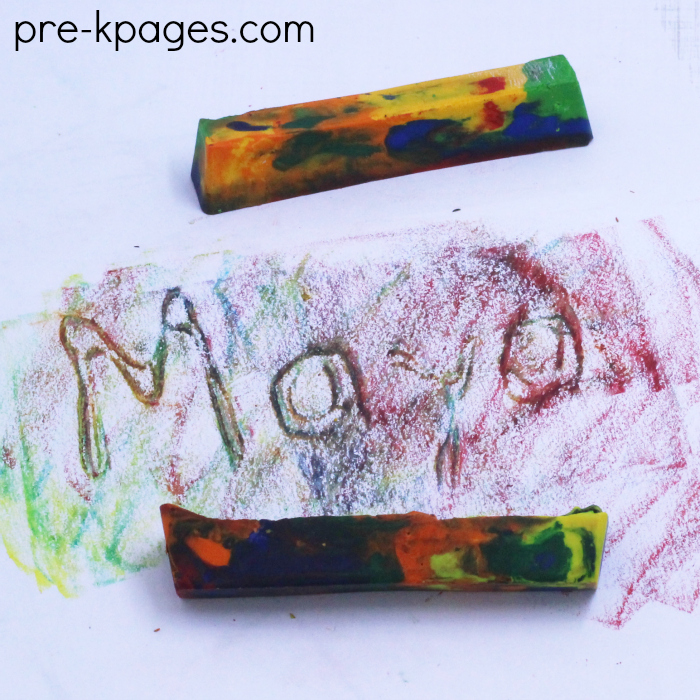
When the names are thoroughly dried, place a piece of copy paper over the top and invite children to rub the flat sides of the crayon over the top.
There you have it, instant rainbow names!