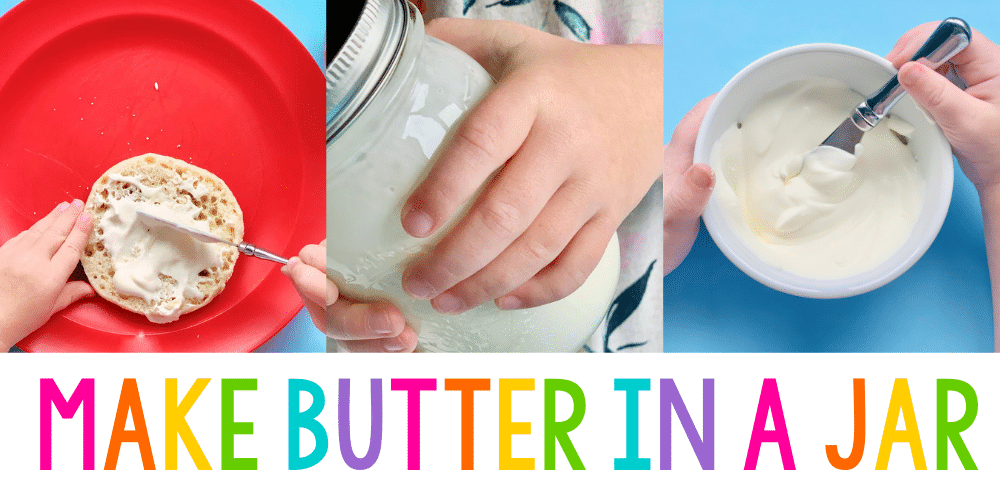


Have you ever made homemade butter in a jar with your kids? Making butter in a jar is always a super fun activity to do during a farm theme.
Not only is making butter a memorable experience for your kids, it’s also a fantastic science experiment or a real-life lesson about where our food comes from. All you need are a few basic supplies, and some enthusiastic, curious little learners to help you out. But the very best part of making homemade butter is the taste testing — yum!
Learn How to Make Butter with Preschool Kids
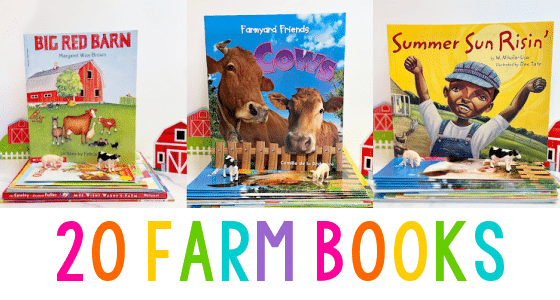
Before you dive right in and start making butter, you should build some background knowledge with your kids. Building background knowledge is like setting the scene for learning, it can help you introduce concepts and new vocabulary to your kids. You can use books and videos to help build background knowledge.
- From Grass to Milk, by Stacy Tous-Bolstad
- Let’s Make Butter, by Eleanor Christian
- The Little Red Hen, by Lucinda McQueen
Homemade Butter Recipe
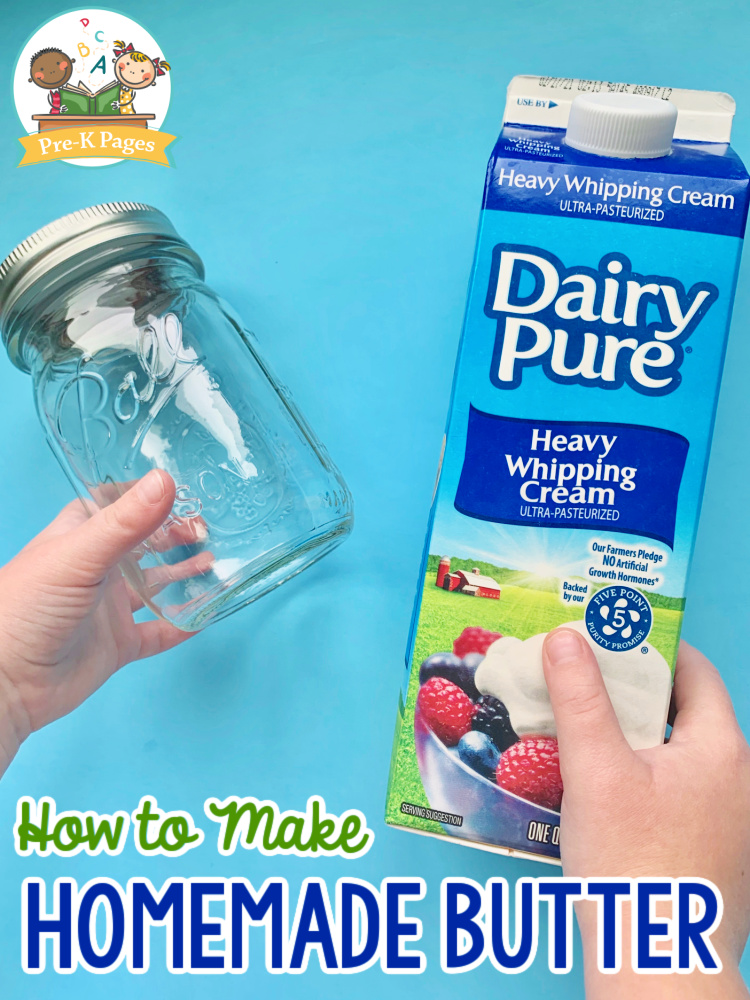
Here are the supplies you’ll need to gather to make butter with your kids at home or in the classroom. You probably have some of these things on hand already.
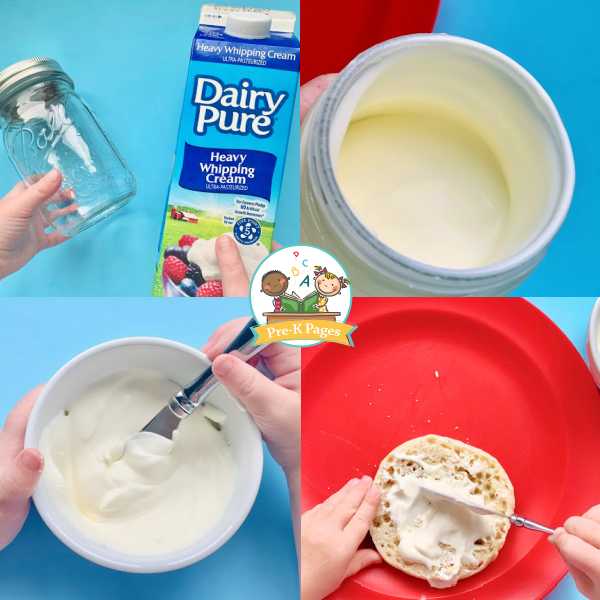
- Heavy whipping cream
- Glass marbles (optional)
- A pinch of salt (1/8 teaspoon or less)
- Glass mason jar, glass baby food jars, or any glass jar with a lid
Easy Homemade Butter Recipe
Now it’s time for the fun to begin! If you’re doing this activity with an entire classroom of preschoolers you may want to have additional adults on hand to help, or you may consider making butter during your small group time.
Check out this research-based, playful learning unit in our curriculum shop!

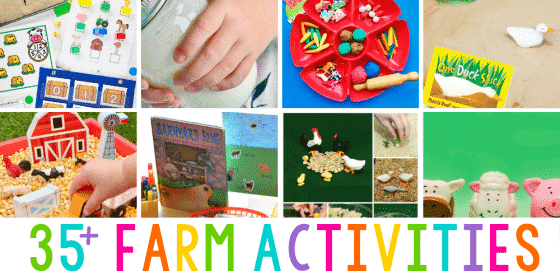
Farm Lesson Plan Bundle | Preschool and Pre-K
16 of my most popular farm theme activities, including fine motor, math, literacy, science, dramatic play and more!
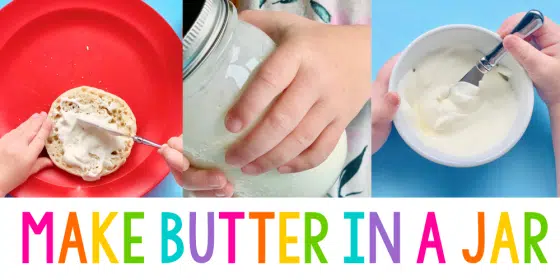
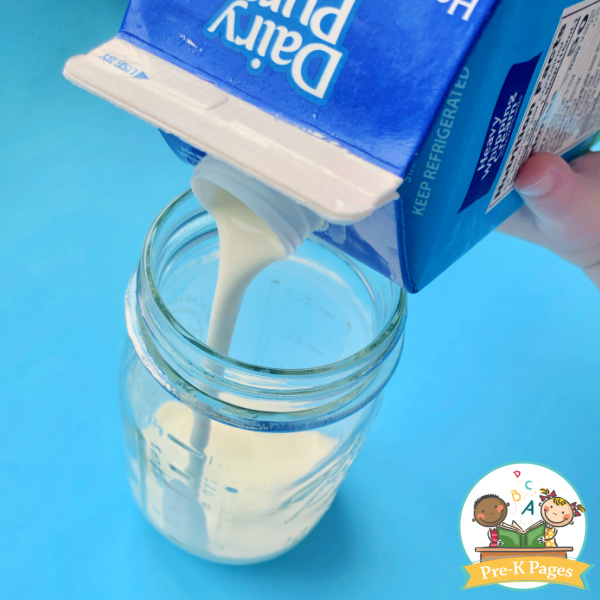
First, fill your glass jar halfway with cold heavy whipping cream. You can have a child hold the jar while you pour the heavy whipping cream in, or you could fill a bowl with the cream and invite the children to take turns using tablespoons to fill the jar.
Then, drop your marbles in the jar if you’re using them, and close the lid tightly to prevent liquid from escaping during the shaking process.
The purpose of using marbles is to speed up the time it takes to turn the cream into butter. If you don’t feel comfortable using marbles in your classroom or with your students, they’re not necessary, but be prepared to shake the jar for a few extra minutes.
Be sure not to fill your jar more than half way, you’ll need the empty space at the top to allow the liquid to move around freely and form a solid mass.
Making Homemade Butter with Kids
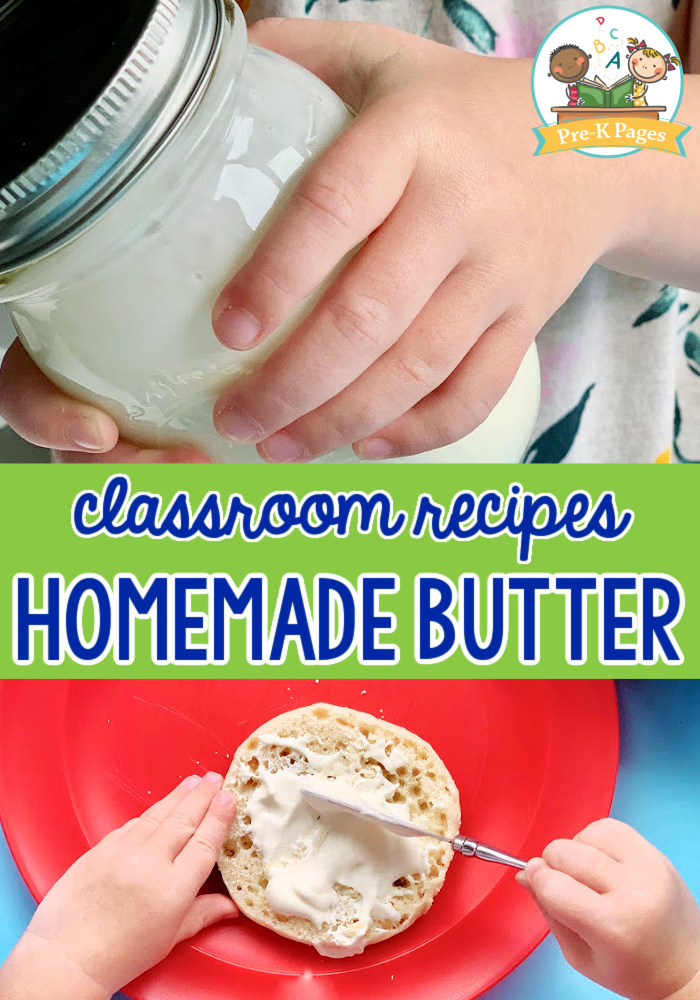
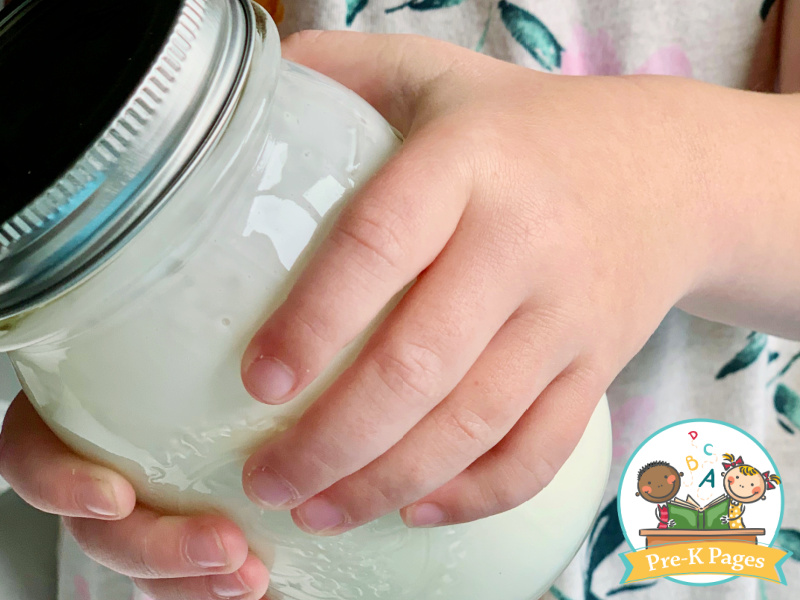
Next, demonstrate how to shake the jar vigorously while holding it firmly with two hands. Then, invite your students to take turns and start shaking the jar.
This is where things can get tricky. It can take between 8 – 15 minutes of shaking before your butter is ready, which is why it’s super helpful to have several children taking turns shaking the jar. This is also where the marbles come in handy if you’re short on time.
Making Homemade Butter in a Mason Jar
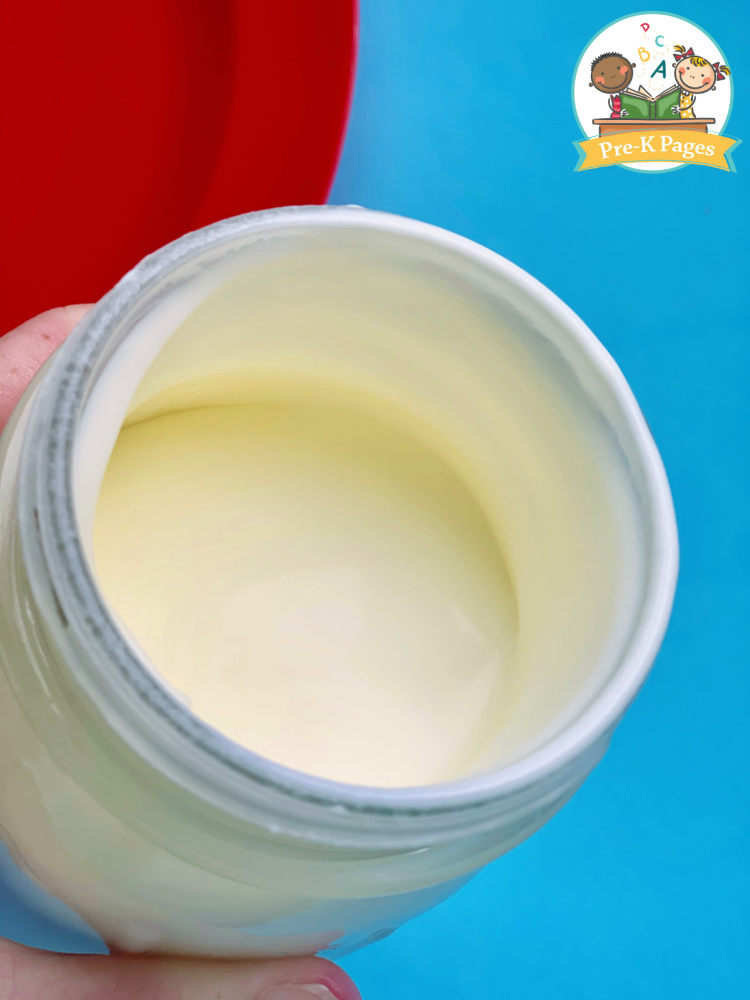
If all goes well, you’ll start to hear a difference in the sound coming from your jar about halfway through the shaking process. You can open the lid and take a peek inside to see the progress you’ve made so far. When you look inside the jar you should be able to see the buttermilk beginning to thicken and separate from the butter. Be sure to show your kids the progress too because it will motivate them to keep shaking – 8-15 minutes is a very long time in a child’s world!
Before you put the lid back on your jar, add that pinch of salt – trust me, it makes a difference.
You’re in the home stretch now! Continue to shake your jar until you no longer hear liquid sloshing and begin to feel like there’s something solid inside.
Next, pour the buttermilk out and remove the butter from the jar. Some people like to save the buttermilk to use in other recipes later.
Now it’s time to rinse the butter under cold water. Massage the butter a little while you’re rinsing it to prevent it from spoiling too quickly.
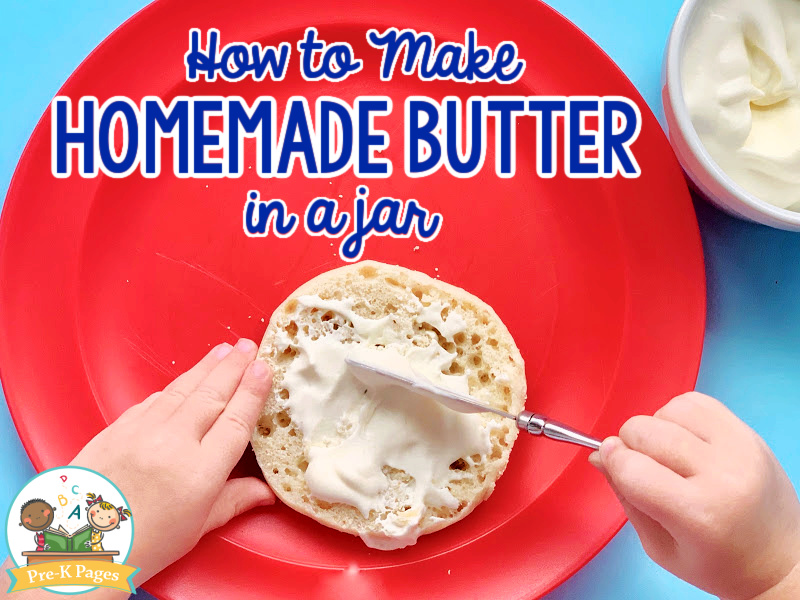
Finally, it’s time for tasting the butter! After all their hard work, your little learners will be eager to taste the fruits of their labor.
I like to invite the kids to spread a little of the homemade butter on an English muffin. Then, we graph who liked the butter and who didn’t. You could easily spread butter on crackers for tasting, too.
This is one activity that your kids will keep talking about for the rest of the school year – and beyond!