


Winter is a time when we think of snow and glittery landscapes. Many think of these even if snow is rare in their area. If you would like to create your own winter glitter snow shapes, this glitter snowflakes activity is for you. If you are not a fan of glitter, this activity includes tips to make things a little less stressful when using glitter.

Winter Glitter Snowflakes Craft Activity
Before we start, a disclaimer: The opinions about glitter expressed in this post are the opinions solely of the contributor (Scott) and not necessarily those of Vanessa or Pre-K Pages.
Okay. Now. I don’t like glitter. I rarely if ever use it. I don’t mind others using it, but I like to keep it out of my classroom. (I think I had a bad glitter experience as a child.) A friend challenged me to find a way to use glitter in a less stress, less mess kind of way. Since I encourage my preschoolers to try new things, I felt as a preschool teacher, I need to try new things, too.
What You Need
- Chenille craft stems (I used white)
- Glitter (I used turquoise)
- Box with lid (preferably airtight)
- School glue
- Small cup, watercolor brush
- Tongs, spoon
- Ziplock bags
- Cord or string
Check out this research-based, playful learning unit in our curriculum shop!
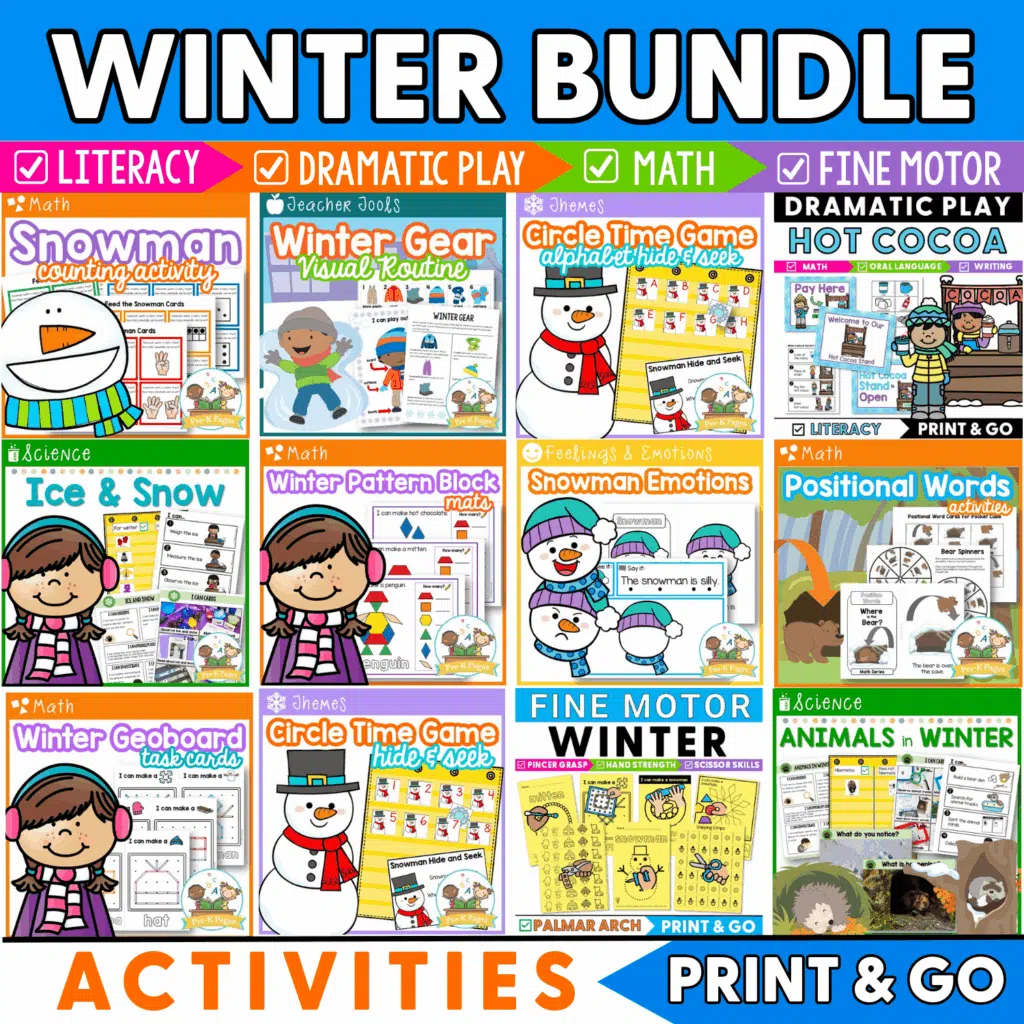
The Ultimate Pre-K Winter Lesson Plan Bundle
Winter bundle activities. Includes 22 resources for math, literacy, science, fine motor and dramatic play and more. Make learning fun!
Make the Snowflake Shapes
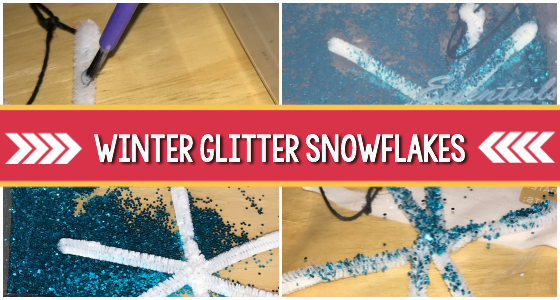
Cut some of the craft stems in half. Invite the children to twist the pieces together to make snowflake shapes. Preschoolers could make other shapes or random designs with the stems as well. Shape doesn’t matter as long as the final shape will fit in your box.
Tie a cord loop to each shape if you want them to hang.
Pour some glue into a small cup. Thin a little with water. Invite preschoolers to paint or dab the glue onto their shapes. Tip: I keep a bag of glue brushes separately from my painting brushes. While you can use them again, the bristles will often clump and make it difficult to use for paint.

Glitter It Up
Pour some glitter into the box.
Place the shape in the box with the glitter. (I used tongs to avoid glitter on the hands.)
Seal the box. Move or shake the box to get the glitter onto the glue areas. (As an alternative, keep the box open and use a spoon to scoop and pour the glitter over the shape.)
Open the box. Remove the glitter snowflakes (with tongs) and place in a ziplock bag. Seal it up and print the child’s name on the bag.

Tips On How To Work With Glitter -Less Mess, Less Stress
1. Contain the glitter. Keep it in a sealed box or bag and not out in the open.
2. Limit physical contact with the glitter. Using tongs and a spoon helped me not get glittery fingers. And I sealed up the tongs and spoon in their own bag after I was finished.
3. Make sure your container is airtight. My box and lid did not seal as well as I thought. (And glitter finds any small crack or hole to escape.) I ended up with glitter on my table after shaking. If I use this activity with children, I will seal the box with tape before shaking. (Or find another container!)
4. Relax. If glitter escapes or spills, take a deep breath and clean it up. Don’t short-circuit the experience with concerns about glitter.
Yes, I ended up with glitter on me. I even found some glitter on my computer keyboard as I typed this post. But I survived.
Will I use glitter in the classroom? Maybe. Now that I have thought through how to deal with my concerns, I feel a little more relaxed about taking on a glitter activity from time to time. But mostly we’ll make messes in other ways. (Sand anyone?)
Contributed by Scott Wiley
Fun Ways to Stay Busy When It’s Cold Outside
Looking for more ways to keep your little learners active when it’s too cold to go outside? Just fill out the form below to have our FREE indoor recess printable emailed to you.