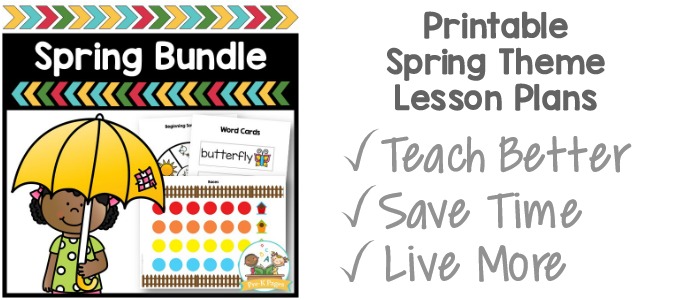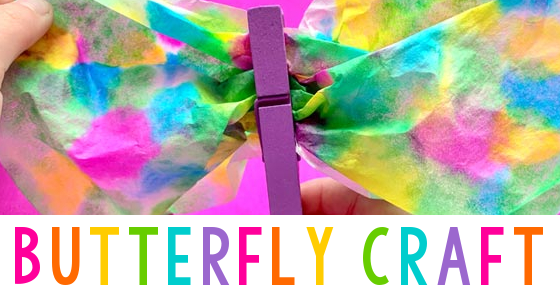


One of the most exciting spring events at my school is the arrival, growth, and transformation of caterpillars into butterflies. Each classroom receives its own caterpillars, and all of the children take part in observing the process. Here’s a fun, multi-step activity book to create and coincide with your caterpillar-related unit.
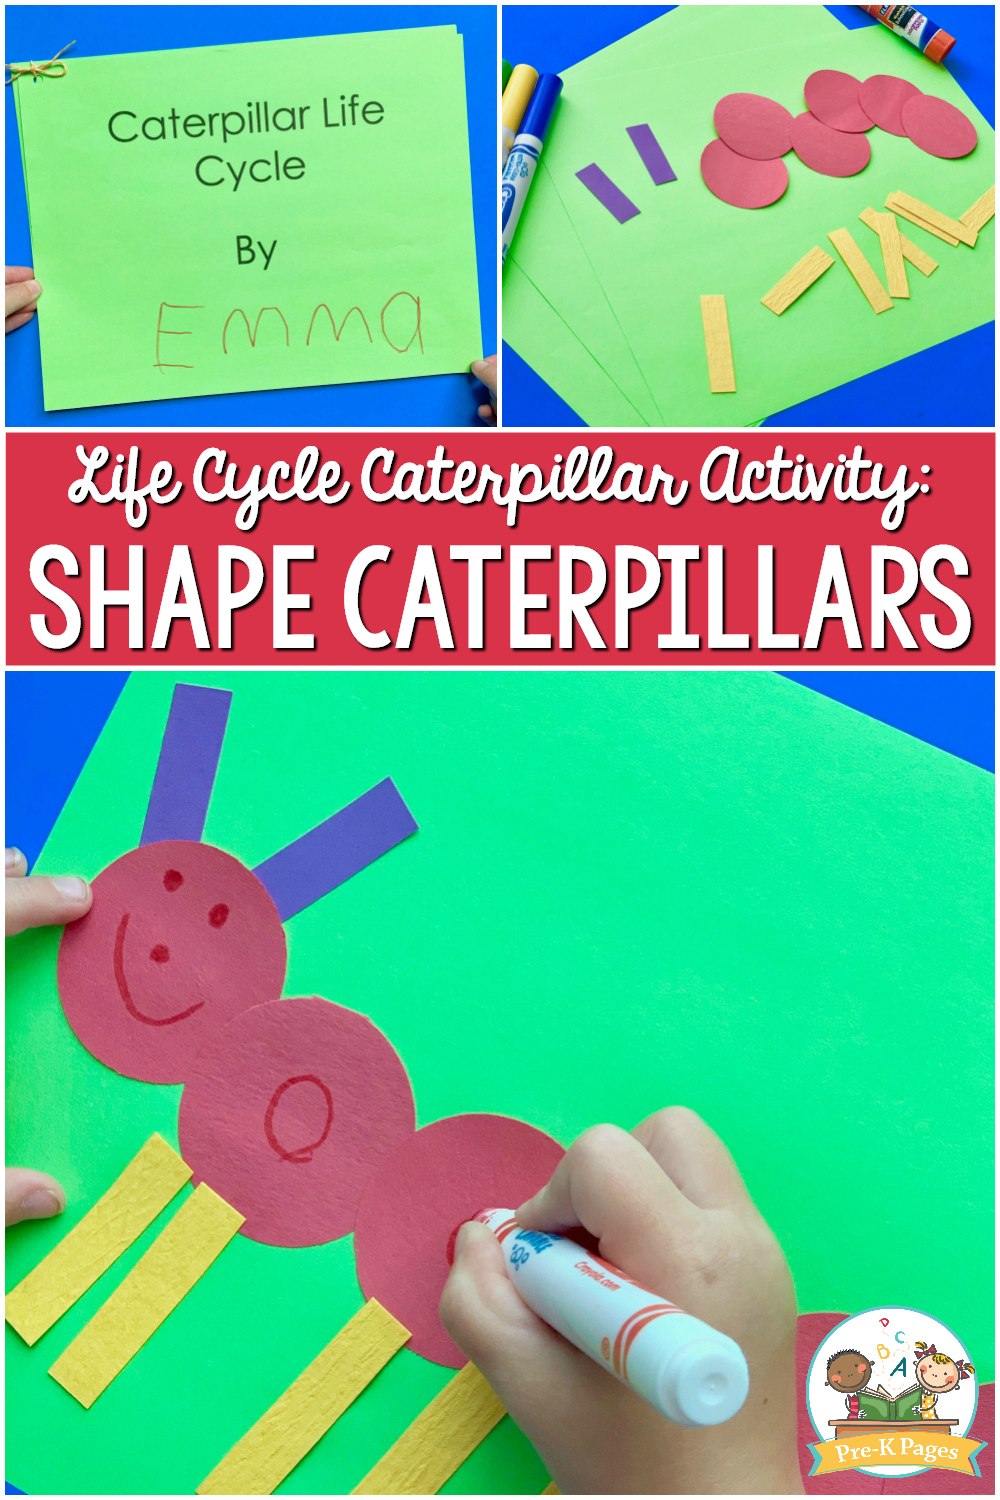
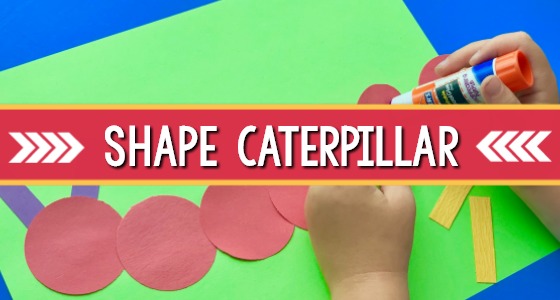
Shape Caterpillars
Supplies
- Glue
- Green construction paper
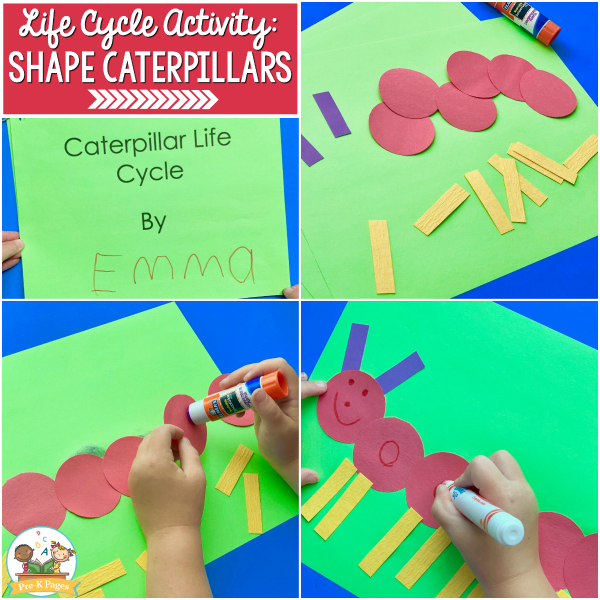
- Circles, cut out of construction paper in a variety of colors of uniform size
- Rectangles, cut out of construction paper in a variety of colors of uniform size
- Markers or crayons

Invite the children to use the circles, rectangles, and glue to create caterpillars on a green sheet (or half sheet) of paper. Each child can choose circles and glue them in a line (or somewhat linear) shape, representing the caterpillar’s body; the rectangles can be used for the caterpillar’s feet and/or antennae. Using glue from a squeeze bottle requires effort, which is a great way to sneak in some hand/arm strengthening! Remind children they only need to use dots of glue to hold paper together.
After the gluing is complete, children can use markers and crayons to add additional details to the caterpillar, including eyes, mouths, antennae, legs, patterns, etc.

Label this page “caterpillar.” This labeling can be done in a variety of ways, depending upon the age/ability of your students. If they are older preschoolers, children can print “caterpillar” on their own via dictation or modeling; a teacher can print the word “caterpillar” on the page; a teacher can print “caterpillar” on address labels and children can each attach a label to their pages.
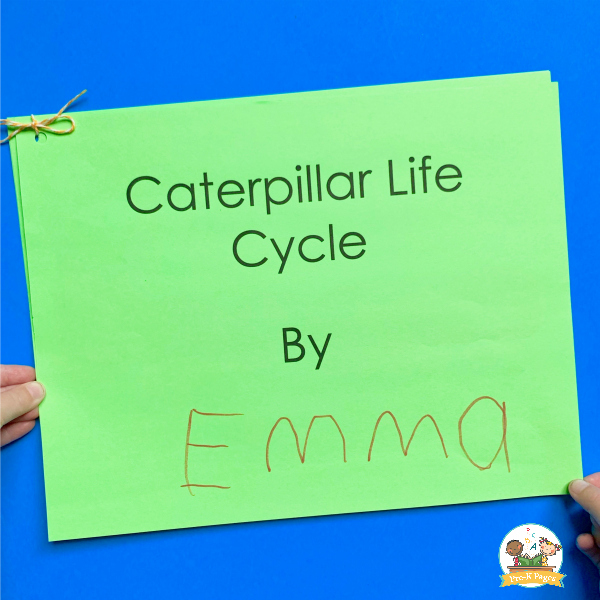
Complete a Caterpillar Life Cycle Book
Give each child 5 pieces of green construction paper in addition to the caterpillar page made above. The first paper is the cover page for the book; the four in the middle represent the four stages of the caterpillar life cycle; and the last page is the back cover.
Throughout your life cycle study, lead children to add a page entitled “chrysalis,” one entitled “butterfly,” and one entitled “egg,” with the appropriate illustrations on each page. Tell the children to make a front cover (with drawing and “Life Cycle”) and back cover (with child’s name). Once all six pages have been completed, the books can be bound together with a binder ring, page fastener, yarn, etc. and sent home with the children.
I chose green paper to represent leaves or grass; you can cut out pages in the shape of a leaf using a stencil, or older children can use scissors to cut out their own leaves for more hand strengthening and fine motor practice.
If your class is working on representational drawing skills, the four stages can be drawn solely with markers or crayons. I’ve also had my students crumple tissue paper for more pincer grasp usage with the hand they use to write with. They then use crumpled white tissue paper to represent the egg and brown to represent the chrysalis. Similar to the shape caterpillar, the children can create their own butterflies using rectangles (for the body) and four circles (for the wings).
A project like this goes well with caterpillar-themed books, including The Very Hungry Caterpillar by Eric Carle, or The Very Impatient Caterpillar by Ross Burach.
Contributed by Christina Branton
Caterpillar, Butterfly, and Bug Books
Activities for the Very Hungry Caterpillar
Explore the Butterfly Life Cycle