You can’t think of spring without thinking of butterflies! Kids are mesmerized by these beautiful insects and love to observe and learn about them. One way to teach children about the patterns, designs, and symmetry of butterflies is by making them out of paper. These paper butterfly art ideas are easy to do and use materials you may already have on hand.
Benefits for Using Paper for Art
Paper comes in all sorts of textures and colors and can easily be cut, folded, torn, and painted by children to create whatever item or design they desire. Art projects made from paper are also simple and easy! They don’t require many supplies and kids can complete them fairly quickly. Paper is a familiar medium for preschoolers. They can explore different ways to use it. They can compare different kinds of paper and discover how the weight or materials of the paper affect what happens with their art.

Easy Paper Butterfly Art Projects
Introduce the Activity
Read a book about caterpillars and butterflies or display pictures of butterflies. Note the parts of a butterfly–wings, body, antennae, legs, proboscis (like a tongue). Note that the butterfly’s wings are the same from the middle out. Introduce the word symmetry.
Paper Butterfly Art Supplies
- Construction paper
- Colored cardstock
- Tissue paper
- Paint
- Paintbrushes
- Scissors
- Glue
- Crayons
- Chenille craft stems
- Mini cupcake liners
Offer materials in your art center or in an area of your classroom. Allow children to complete as much of these projects as they can independently. Assist them as needed. You may want to offer the variety of materials and encourage children to explore making butterflies. Or offer guidance to make one of these butterflies.
Make a Name Butterfly
Cut a butterfly shape from construction paper. Fold it in half vertically and open it up again. For older preschoolers, show them how to fold paper in half and cut out a wing shape; open up the paper to see the butterfly shape.
Invite a child to paint a design on one half of the butterfly (on one side of the fold).
Check out this research-based, playful learning unit in our curriculum shop!
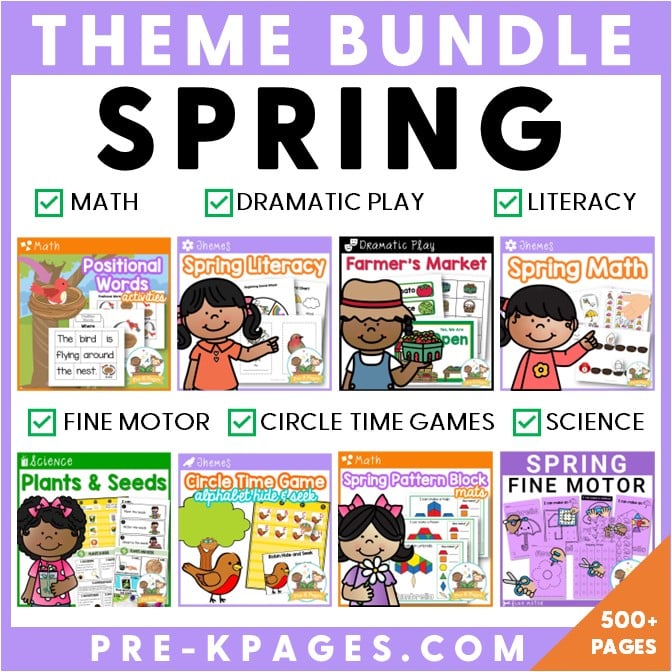
Ultimate Spring Themes Pre-K Lesson Plan Bundle
[SPRING FLASH SALE] Save 61% off this bundle of 19 of our most popular spring theme resources, including math, literacy, circle time, fine motor, dramatic play - and more!
Help the child fold the butterfly in half and firmly rub the entire folded butterfly. Open the butterfly up to see the symmetrical design now painted on the other side of the butterfly. Comment that the design is the same and that’s what symmetry means.
Cut circles from green construction paper. Help a child print each letter of his name on a different circle.
Guide the child to glue the letters in order down the fold in the middle of the butterfly. Glue a blank circle at the top of the name and draw a face on the top circle. Add chenille craft stems for antennae.

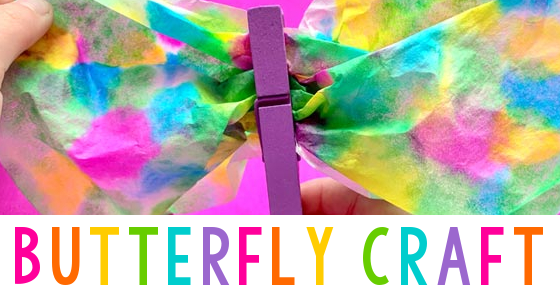
Make a Tissue Paper Butterfly
Invite a child to tear a strip of colored piece of tissue paper, approximately two inches wide and the length of a letter sized piece of cardstock. Help the child glue the strip along one edge of the cardstock. Lay the cardstock so the tissue paper strip is at the top of the page.
invite your students to tear a strip of a different colored tissue paper and glue the pieces below the top piece of tissue paper overlapping it about a half inch.
Repeat until the cardstock is covered with several rows of brightly colored tissue paper.
Help the child cut out a butterfly shape from the covered cardstock. Glue down any loose pieces of tissue paper.
Cut out a butterfly body from a colored piece of cardstock and glue in the middle of the butterfly. If you choose, add chenille stem antennae and draw eyes and a mouth.
How to Make a Butterfly Scene
Help trace a child’s hand on bright colored paper. Help the child glue the handprint in the center of a blue piece of paper. (Children may want to cut other shapes for their flowers.)
Invite the child to cut or tear green paper into a stem and leaves, and glue them under the handprint to create a flower. Glue two mini cupcake liners in the middle of the flower.
Guide a child to cut out a butterfly from a different color of paper and decorate it with crayons. From contrasting color of paper, cut out two antennae and one proboscis (insect’s tongue).
Show a child how to curl the proboscis by rolling it around a crayon. Help the child glue it on the butterfly; add the antennae.
Glue the bottom half of the butterfly next to the flower. Position the butterfly so the proboscis extends to the middle of the flower (as if the butterfly is drinking nectar).
Encourage the child to add additional flowers or butterflies to the scene, either with paper or crayons.
Contributed by Sharon Craig
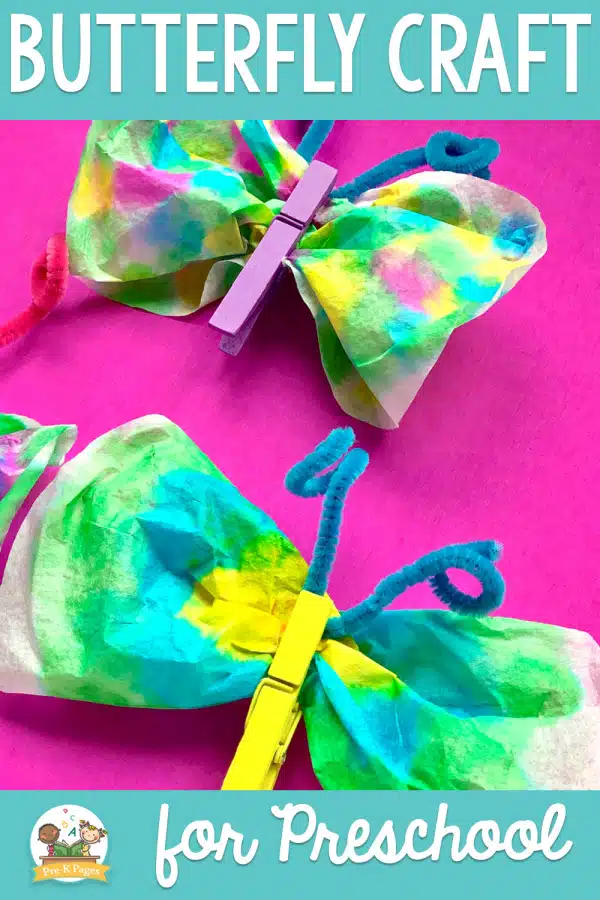
Make a Coffee Filter Butterfly
Raise Butterflies in the Classroom
Explore the Butterfly Life Cycle
Free Flower Math Game Printable
Looking for more flower fun? Get this printable flower math game sent to your email simply by filling out the form below.