


Halloween can be loads of fun in the classroom with all the cute crafts and activities. Here’s a super quick and easy Halloween sensory bottle you can make to help kids who may become overstimulated by all the activity in the classroom during this time of year.
Halloween Sensory Bottle
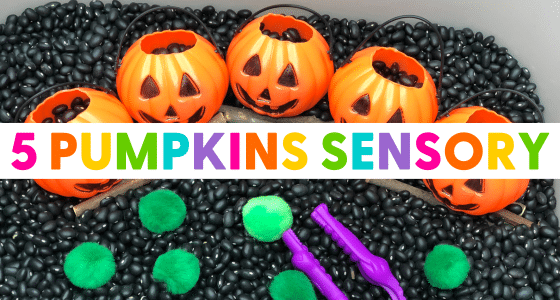
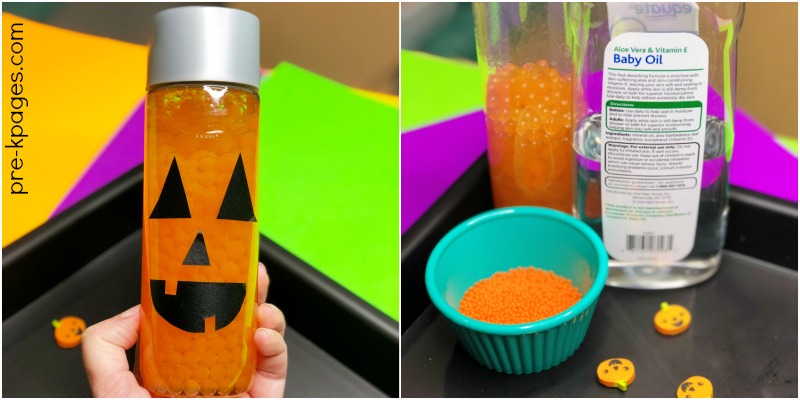
Sensory bottles are perfect to use for a calm down tool. When you switch up your calm down bottles every now and then it can increase interest levels. Introduce your Jack-O-Lantern sensory bottle to your students, then place it in your calm down area. When students are feeling anxious they can visit the calm down corner and shake the bottle to watch the beads shift and move through the plastic bottle.
Halloween Sensory Bottle Supplies
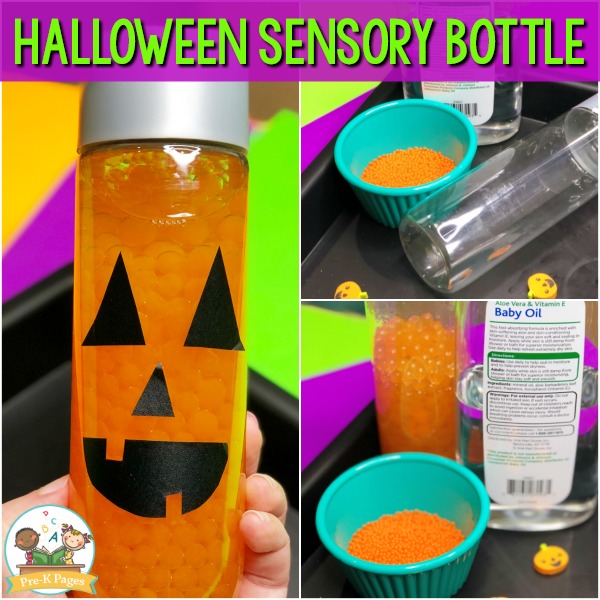
This Halloween sensory bottle is so easy to make, it will take you just a few minutes to complete. Here’s what you need to get started.
- Water Bottles (I used a plastic VOSS water bottle)
- Water
- Orange Water Beads
- Baby Oil
- Hot Glue or Duct Tape
- Black Construction Paper or Contact Paper
Halloween Sensory Bottle Directions
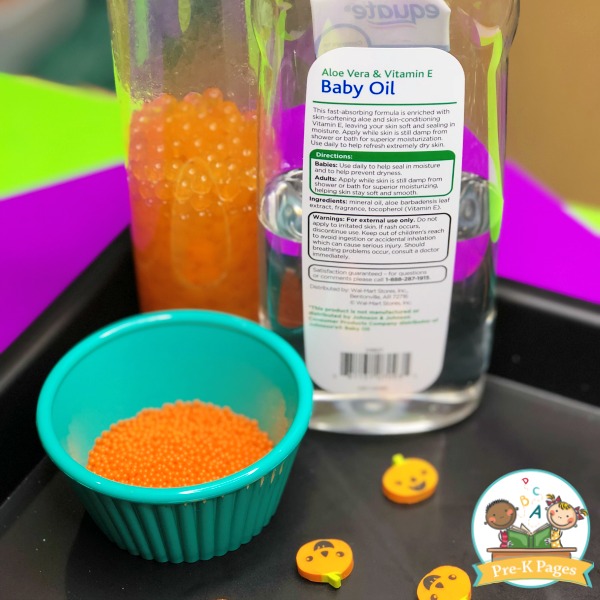
Start by placing your orange water beads in the bottom of the empty bottle.
Next, add cold or room temperature water to the bottle until it is one third full.
Check out this research-based, playful learning unit in our curriculum shop!
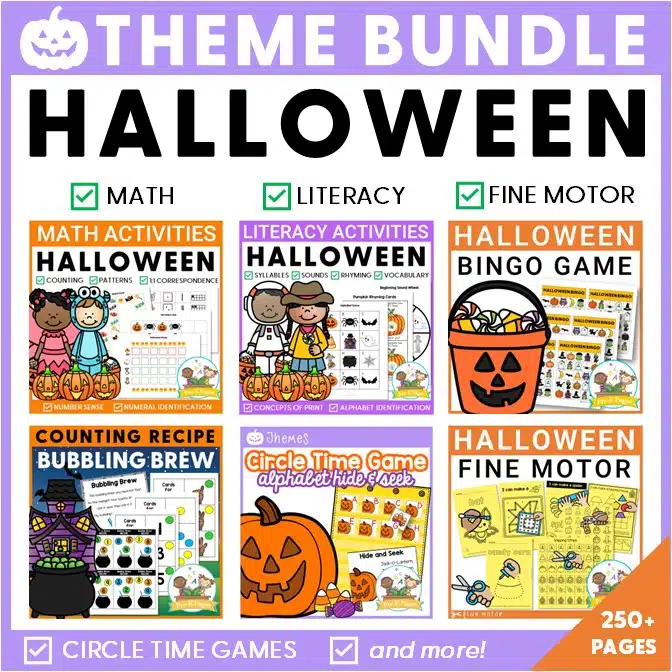
Halloween Bundle
The Halloween Bundle includes 16 of our most popular preschool resources, including math and literacy small group activities, fine motor...
Then, allow the beads to sit in the water and expand, this process can take an hour or more.
Once your water beads have expanded, slowly add in baby oil to fill the rest of the bottle.
Be sure to leave a little extra room at the top of the bottle to allow the beads to move when shaken.
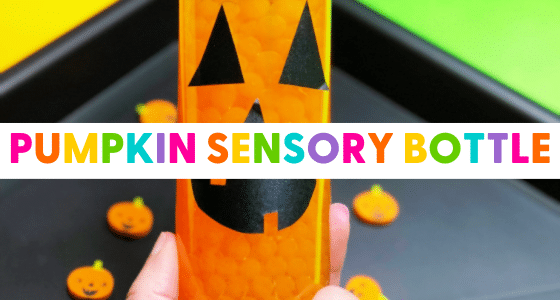
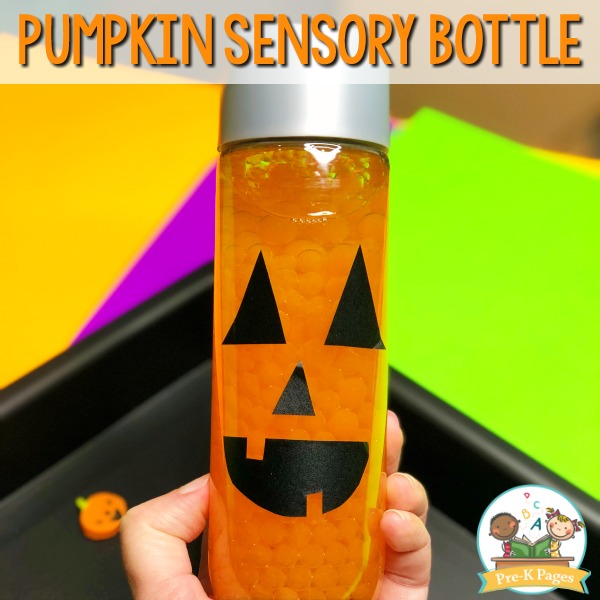
Jack-O-Lantern Sensory Bottle
After you have finished your festive Halloween sensory bottle, now it’s time to make the face!
This part is super easy and doesn’t require any fancy templates or printables.
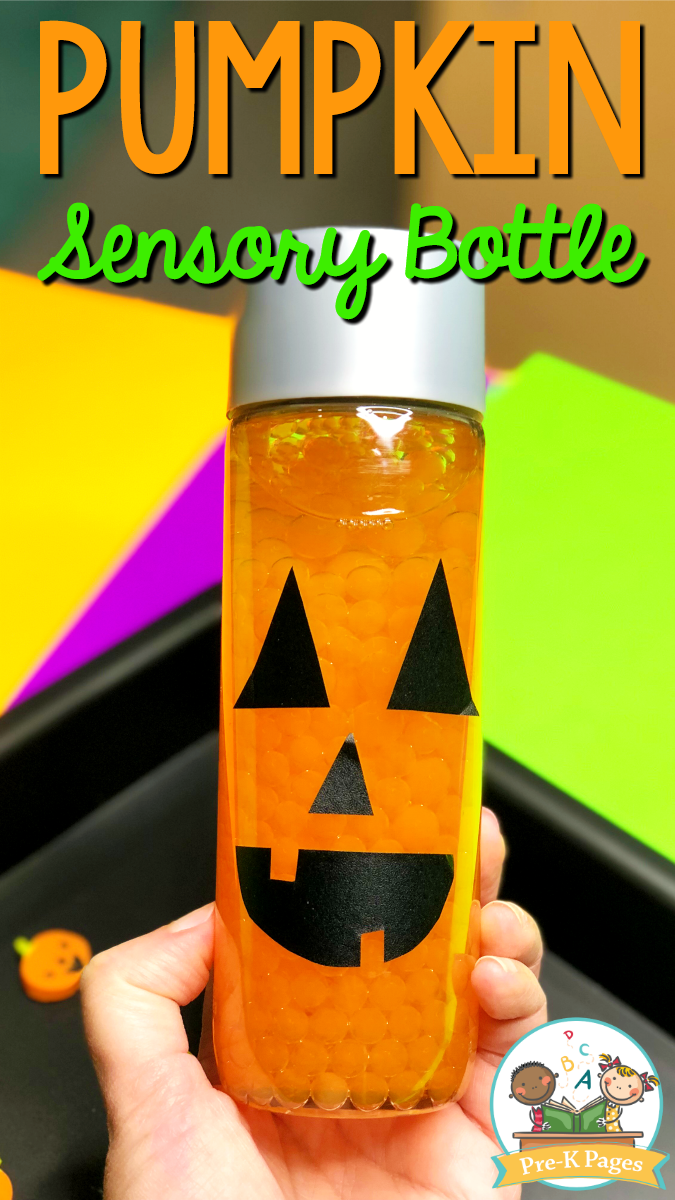
On the bottle pictured here I used black contact paper because I already had it on hand. You can use black construction paper if you prefer and then add packing tape over the face to keep the paper in place.
I cut two triangles from the contact paper that were a bit larger, then I removed the backing from the paper and attached them directly to the front of the bottle.
Next, I cut one smaller triangle and attached it to make the nose.
Then, I cut out a mouth for the Jack-O-Lantern. None of this needs to be perfect so don’t worry if it’s not.
If you think your kids will peel off the contact paper, then you may want to add some packing tape over the face.
Finally, you’ll definitely want to seal the lid shut so your kids won’t open it! You can use hot glue or duct tape to seal the lid of your sensory bottle shut.
More Halloween Ideas