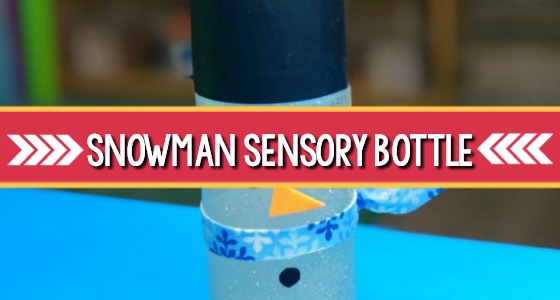


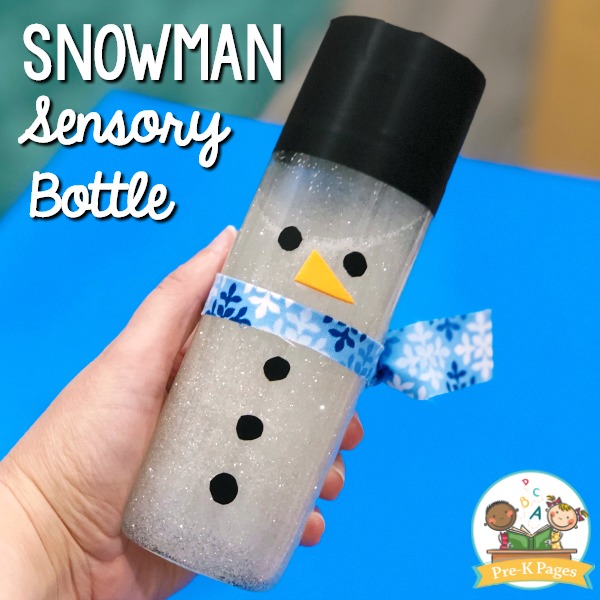
If you can’t make a real snowman this winter, you can make a snowman sensory bottle.
This sensory bottle is super quick and easy to make and your kids will have a blast shaking it and watching the glitter swirl around inside like a snowstorm.

Why Use a Snowman Sensory Bottle?
Sensory bottles are great resources for preschoolers and all young children. They can inspire, create wonder, encourage conversation, build vocabulary, and help develop self-regulation skills. They’re also great fun!
You can quickly and easily make your own sensory bottles to go along with any theme or unit of study. Sensory bottles are perfect for your science center or calm down area.
Snowman Sensory Bottle Supplies
Here are the supplies you will need to make your own snowman sensory bottle.
Check out this research-based, playful learning unit in our curriculum shop!
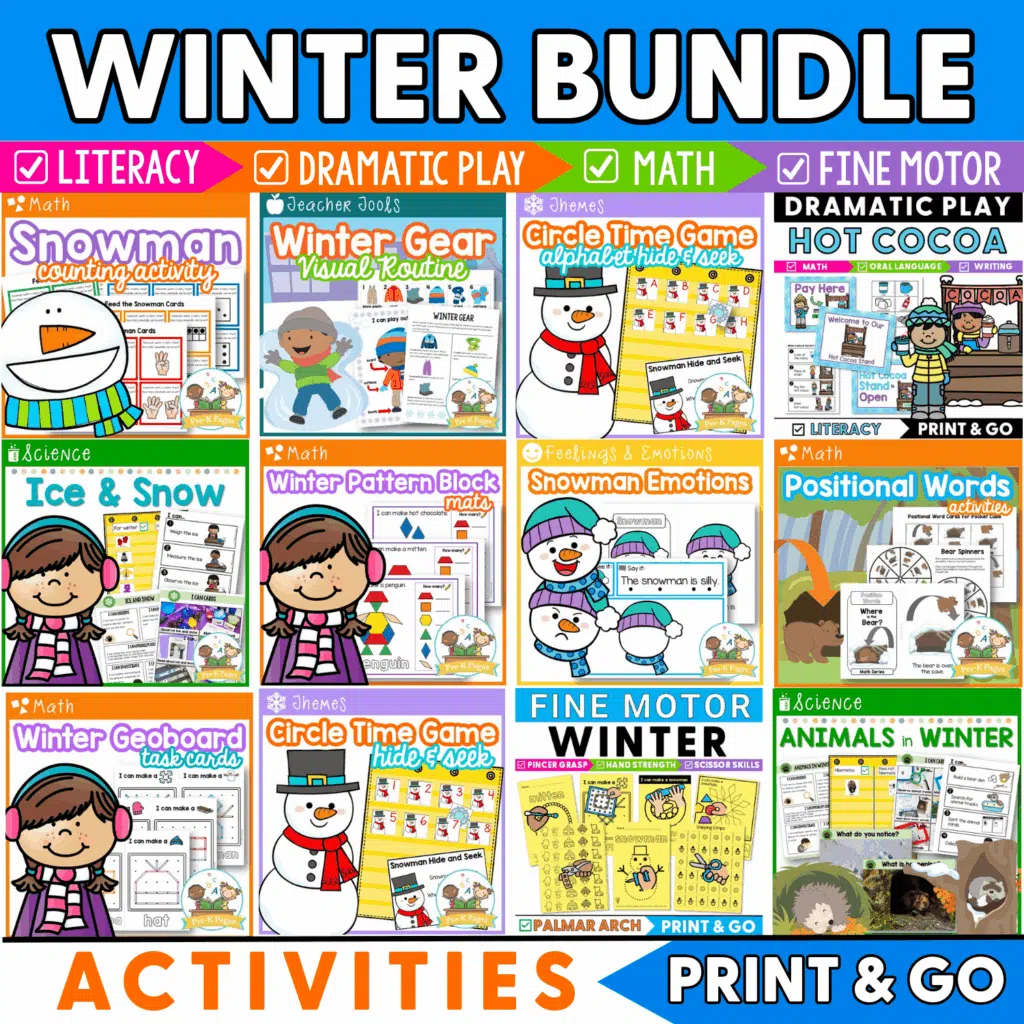
The Ultimate Pre-K Winter Lesson Plan Bundle
Winter bundle activities. Includes 22 resources for math, literacy, science, fine motor and dramatic play and more. Make learning fun!
- Black Contact Paper
- Orange Craft Foam
- Water
- Fine Glitter (white)
- Plastic Water Bottle (I used a 11 oz VOSS bottle)
- Light Corn Syrup
- Scissors
- Fabric Scrap
- Hot Glue Gun
How to Make a Snowman Sensory Bottle
Start by filling your empty plastic bottle about halfway with warm tap water. I love VOSS water so emptying the bottles is never a problem for me!
Next, add your white glitter. You can usually find fine white glitter at any craft store, but if not, you could try this.
Melting Snowman Sensory Bottle
After you’ve added your water and glitter, it’s time to add the light corn syrup. You can find light corn syrup at any grocery store.
The corn syrup, when added to warm water will help thicken the liquid inside the bottle. When the bottle is shaken this mixture will slow down the movement of the glitter to give the beautiful swirling appearance of a snowstorm inside the bottle.
As you’re adding the corn syrup, be sure to leave a little room at the top of the bottle so the contents can mix when shaken.
If you fill the bottle too full, your snowman might not have that swirling snowstorm appearance that makes it so appealing to young children.
Sensory Bottle Final Touches
If you’re worried about your kids opening the bottle and spilling the contents, then you’ll also want to hot glue the lid to the bottle so it’s secure and can’t be opened by curious little hands.
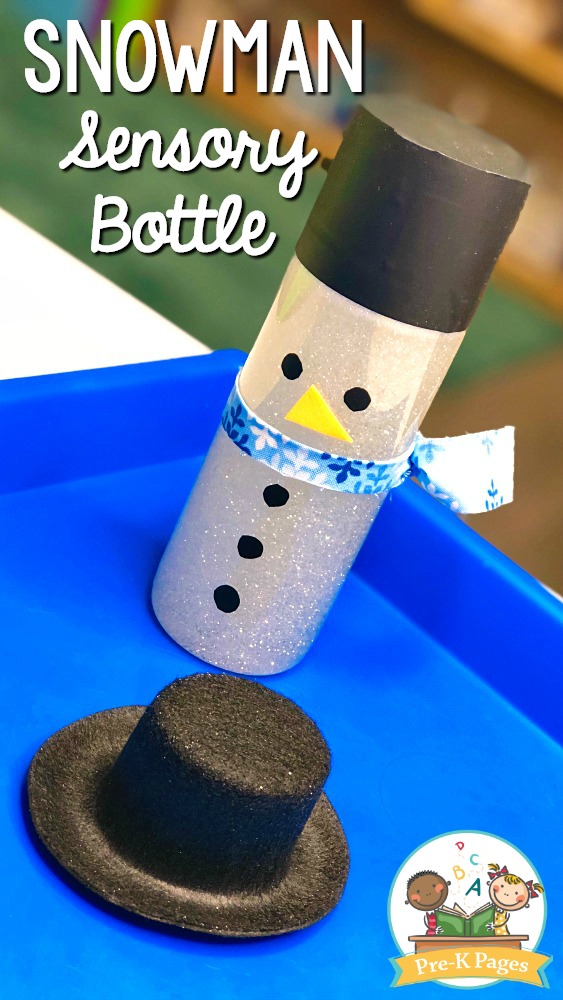
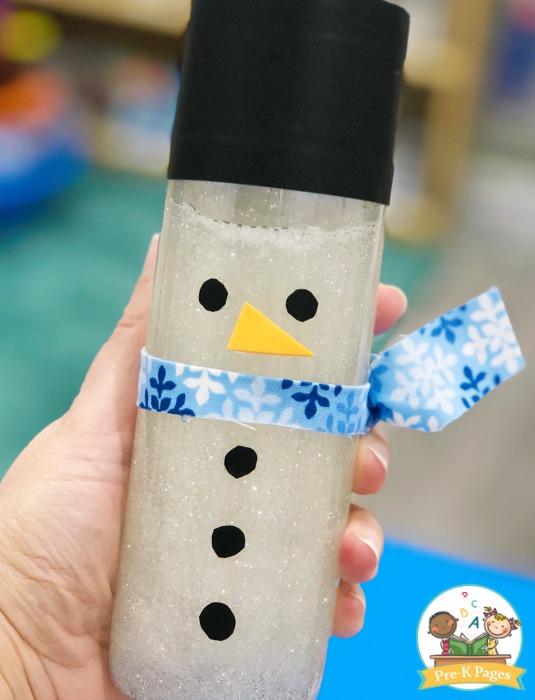
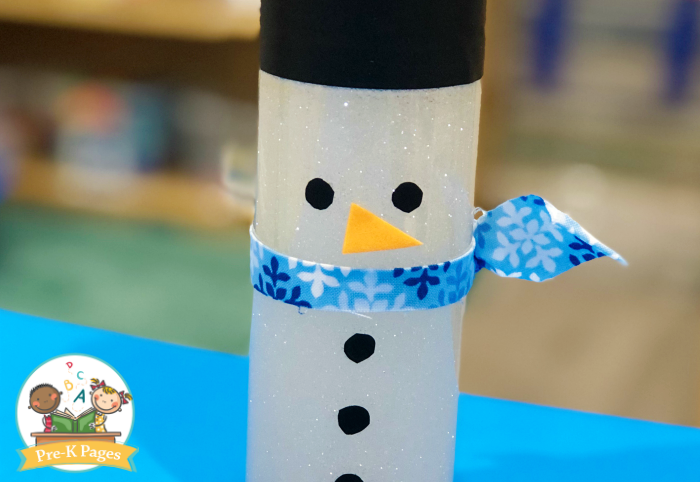
Then, you can use your scissors to cut out a strip of the black contact paper to place around the top of the bottle. This strip of black contact paper will serve as the snowman’s hat. If you don’t have black contact paper on hand, a black permanent marker will work just as well!
After you’ve added the hat, now you can cut some circles for your snowman’s eyes and mouth and add them to the bottle to create his face.
Don’t forget your snowman’s orange nose! To create the nose, just cut out a small triangle of orange craft foam and hot glue to the front of the bottle.
I raided my mom’s quilting stash and found a fabric scrap to use for the snowman’s scarf, but you can choose any fabric scraps you have access to. Felt works too!
Fun Ways to Stay Busy When It’s Cold Outside
Looking for more ways to keep your little learners active when it’s too cold to go outside? Just fill out the form below to have our FREE indoor recess printable emailed to you.