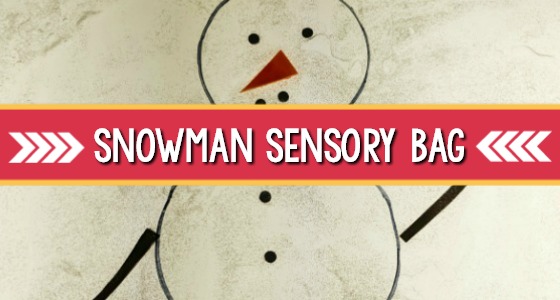


A snowman sensory squish bag is a great way to explore winter without getting too cold! Sensory bags are a fantastic way to work fine motor skills while exploring a theme. Preschoolers are naturally motivated to explore sensory bags through touch. Presenting them on a light table or in a window adds to the visual appeal of the experience.

Snowman Sensory Squish Bag
You will need:
- Large plastic bag with zipper top
- Craft foam in black, orange, and brown
- Hair gel
- Glitter
- Duct tape
- Black permanent marker
- Light table (optional)
Tip: If the plastic bag has writing on it, an adult can remove it with nail polish remover!
Make the Sensory Squish Bag
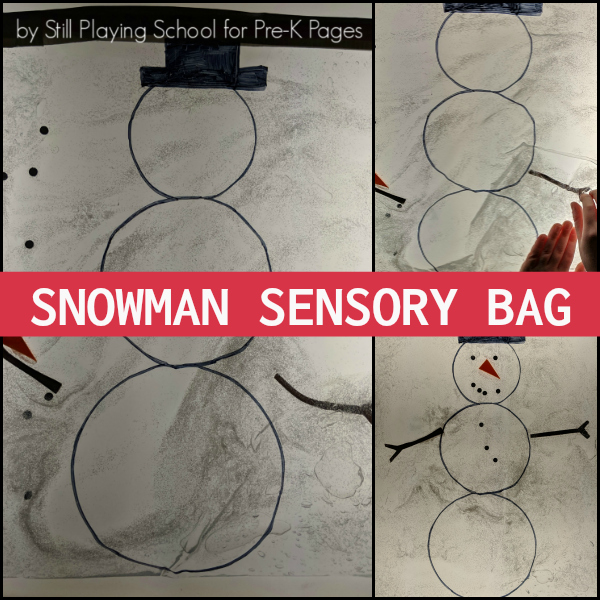
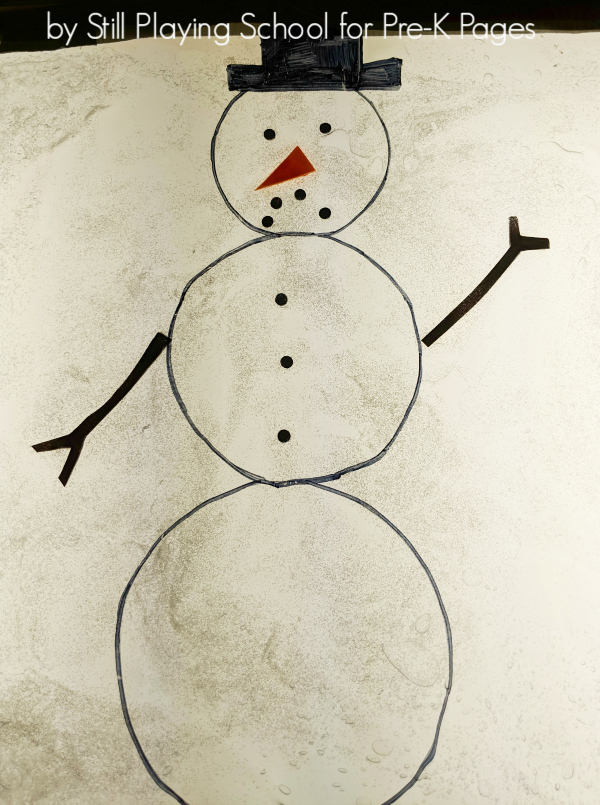
To make the snowman sensory bag, draw three circles on the bag with permanent marker. We drew a hat on top as well! Next cut out two arms from brown craft foam, a carrot nose from orange craft foam, and small black circles for eyes, buttons, and a mouth. Buttons would work as well.
Fill the bag with the craft pieces, clear hair gel, and fine white glitter. Zip the top shut and secure it tightly with duct tape.
Tip: We got our hair gel at the dollar store!
Explore the Snowman Sensory Bag
Present the snowman sensory bag to preschoolers on a light table or taped to a window. Children will gently move the pieces around to create the snowman.
As we worked, we discussed the parts of a snowman. (He has buttons, two arms, two eyes, one nose, and a mouth.) We could create a sad or happy snowman by repositioning the mouth.
Check out this research-based, playful learning unit in our curriculum shop!
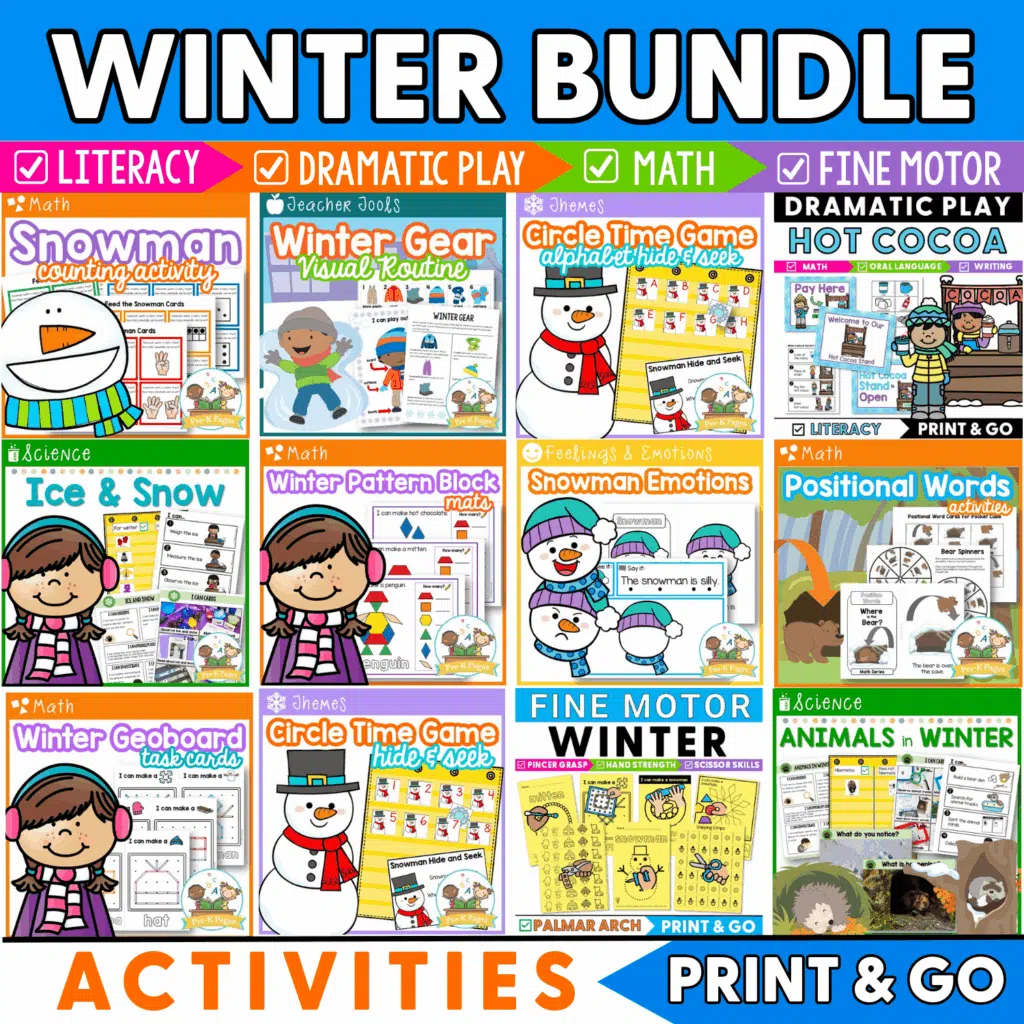
The Ultimate Pre-K Winter Lesson Plan Bundle
Winter bundle activities. Includes 22 resources for math, literacy, science, fine motor and dramatic play and more. Make learning fun!
We discussed positional words such as above, below, inside, and outside as the children worked on their snowmen.
When they were finished we asked them to move all the parts back down to the bottom of the bag for the next student.
Tip: No light table? Make your own: DIY Light Table
BIO: Devany LeDrew writes at Still Playing School where she shares intentionally planned play-based learning activities. Follow Still Playing School on Facebook, Instagram, and Pinterest!
Fun Ways to Stay Busy When It’s Cold Outside
Looking for more ways to keep your little learners active when it’s too cold to go outside? Just fill out the form below to have our FREE indoor recess printable emailed to you.