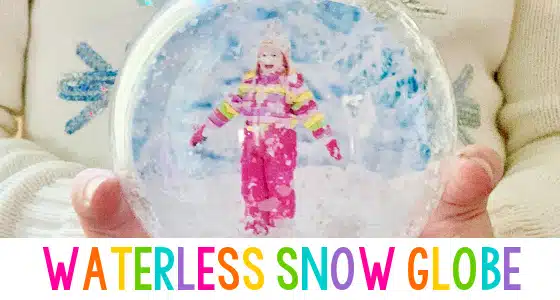


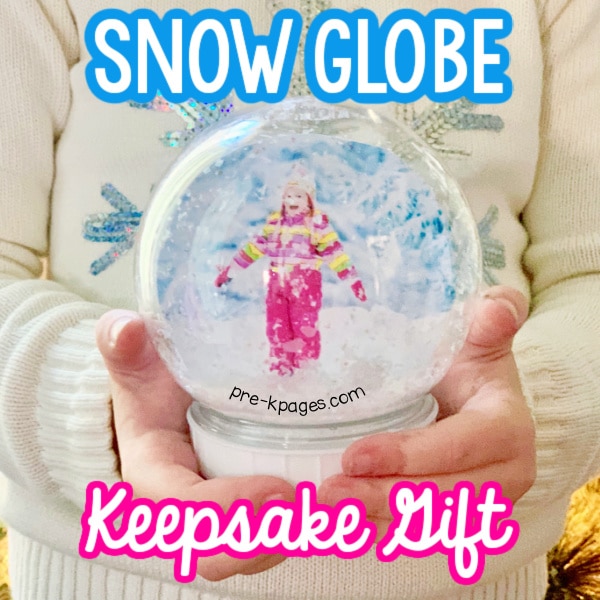
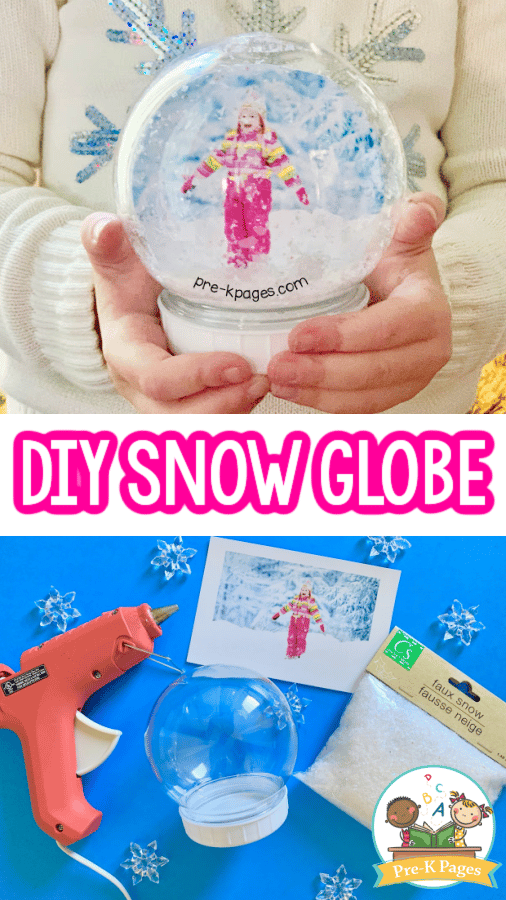
Do you need an amazing keepsake gift for your preschool or kindergarten kids to make for their parents this winter? A waterless snow globe featuring a picture of their child is a gift every parent will treasure forever. This is a great choice if you’re looking for an inclusive winter keepsake gift all your students can participate in making.
How to Make a Snow Globe
Some of you may remember making snow globes as a kid with glass baby food jars, but now you can find plastic snow globes at your local dollar or craft store. Sometimes you can even find small plastic mason jars designed just for this purpose at the same stores. The best thing about the plastic globes is that they won’t break if dropped on the floor.
You can make snow globes at your winter classroom party, for Cub Scouts, Girl Scouts, Sunday School and more- they’re really the perfect winter craft!
How to Make a Waterless Snow Globe: Supplies
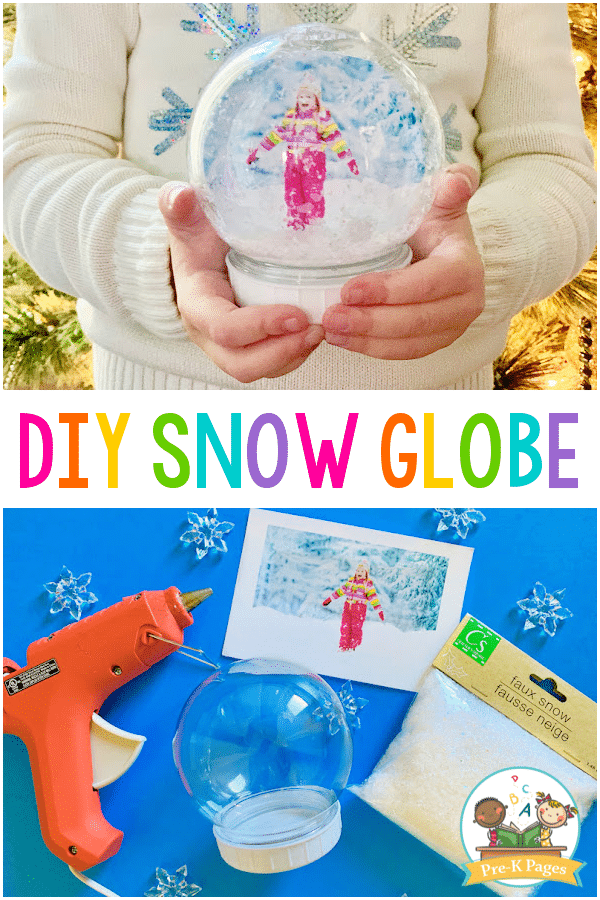
You’ll need the following supplies to create the most adorable snow globes ever!
- Plastic snow globes (dollar store or craft store)
- A printed photo of each child
- Fake snow (I found mine at the craft store)
- Hot glue gun or tape
- Smartphone
- Color printer (this one is my favorite)
- Cardstock
- Scissors
- Adult volunteers or helpers if you’re making these with a large group of children
- Optional: little bottle brush trees, cotton balls
Check out this research-based, playful learning unit in our curriculum shop!
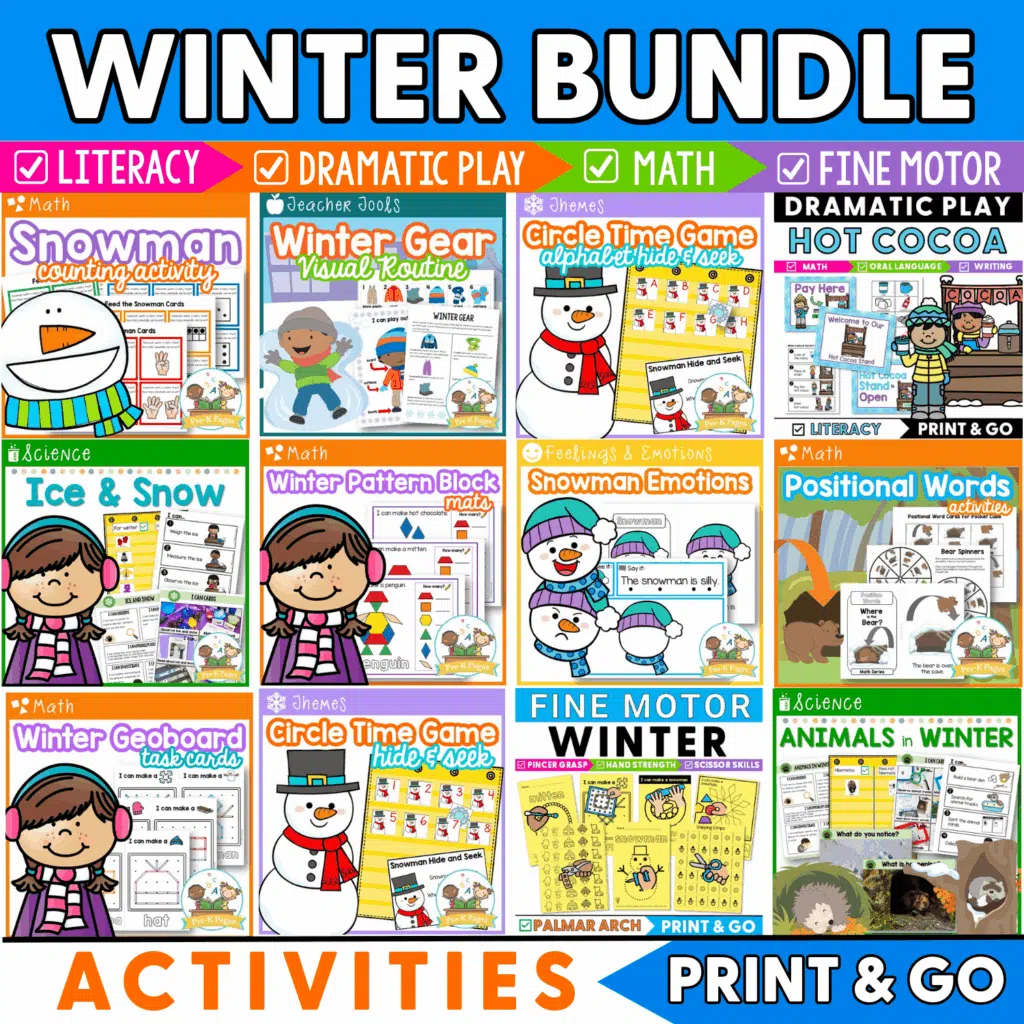
The Ultimate Pre-K Winter Lesson Plan Bundle
Winter bundle activities. Includes 22 resources for math, literacy, science, fine motor and dramatic play and more. Make learning fun!
Don’t worry, the glue gun is for adult use only!

DIY Snow Globe
Let’s be honest, this is really more of a kid-assisted craft than a kid-made craft because there are several things the adults will need to do in the process of creating the snow globes. If you’re looking for a more kid-made craft you might like these beaded candy canes.
When it comes to making these snow globes there’s a bit of preplanning that needs to be done before the snow globes are ready to be assembled.
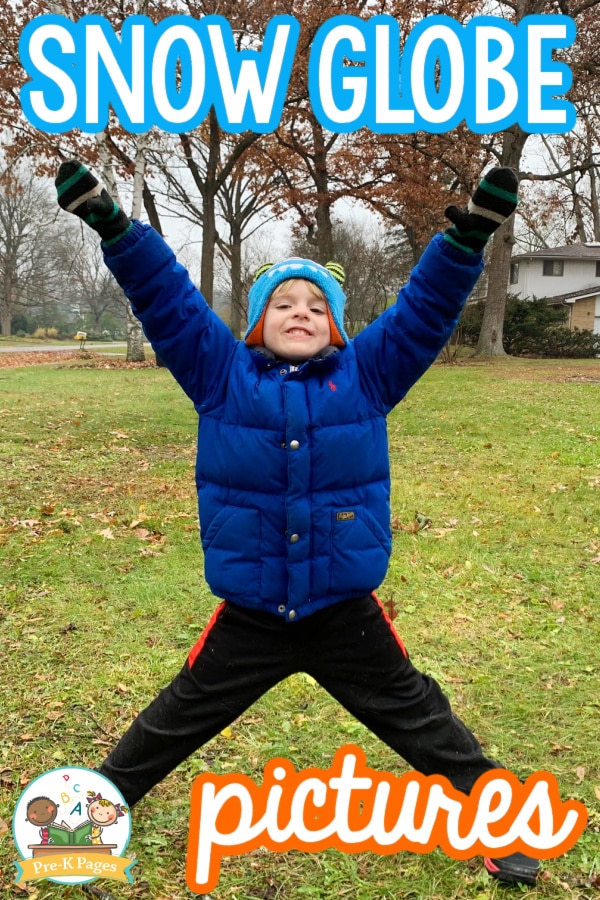
Taking Pictures for Your Snow Globe
First, you’ll need to use your smartphone to take a photo of each child standing with their arms and legs spread apart.
Don’t worry about taking the pictures in the snow if you don’t have any on the ground in your area, that’s where the fake snow comes in. It’s fun to take the pictures of your kids bundled up for winter. If you live in a warm climate it’s still super cute and silly if your students are dressed in their shorts and t-shirts.
If you want to remove the background of the picture, you can use a free online editing tool and select “remove background.” You can also just cut around the picture if you prefer.
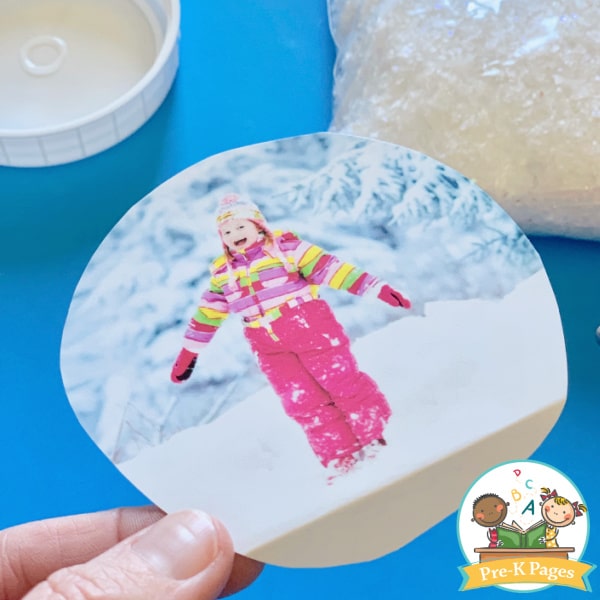
Next, print the photos on cardstock paper and cut them out to fit inside the snow globe.
Easy Snow Globe Keepsake Gift
Now it’s time to assemble your snow globes. If you have a large class, recruit volunteers to help with the assembly process, or you can work with one small group at a time. The children really only do two things, pose for the picture and add the fake snow.
Place the lid of the snow globe on the table with the flat side of the lid laying on the table.
Then, attach the photograph to the inside of the lid using the glue gun, but tape works just as well.
If you want to add a little extra flair to your globes, you can hot glue a few mini bottle brush trees and cotton balls to the bottom of the lid. I found packages of mini bottle brush trees at my local dollar store.
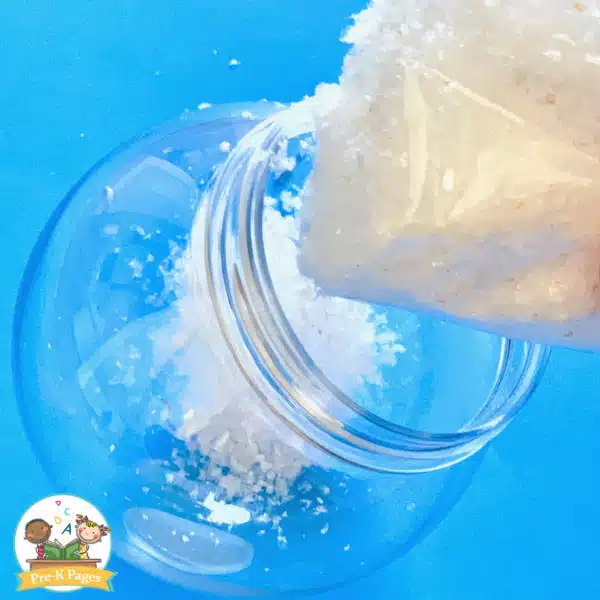
Set the lids aside and invite your kids to place a small amount of fake snow into the globe itself. If you’re an exact measurement type of person, then try approximately 2-3 tablespoons of fake snow. The goal is to put just enough fake snow in the globe to give the appearance of snow falling when it’s shaken. You don’t want to fill the globe with too much snow or it will cover the photograph of the child.
If you used glue to attach your photos or any accessories to the lids, check to see if they are dry. When dry, turn the lids upside down using one hand. In the other hand, hold the globe with the snow with the opening facing upwards. Then, gently attach the lid to the snow globe. You may need to bend the photo slightly to fit it into the opening in the bottom of the globe.
You could also attach a ribbon around the lid to add some color.
Fun Ways to Stay Busy When It’s Cold Outside
Looking for more ways to keep your little learners active when it’s too cold to go outside? Just fill out the form below to have our FREE indoor recess printable emailed to you.