Spring is a time of renewal and growth, making it the perfect season for exploring with sensory play. Sensory bottles, also known as discovery bottles, are a great way to engage children’s senses and encourage calmness. These bottles can be made from simple materials like water bottles and hot glue and filled with various objects to create fun and engaging sensory experiences in the preschool classroom. In this post, we’ll explore how to make spring sensory bottles and how they can be used as a calming tool and sensory activity for preschoolers.

Benefits of Sensory Bottles in the Classroom
These DIY spring sensory bottles are so easy to make! Just like sensory bins, these homemade preschool sensory bottles will spark curiosity and interest in toddlers and preschoolers and provide natural learning opportunities for your kids.

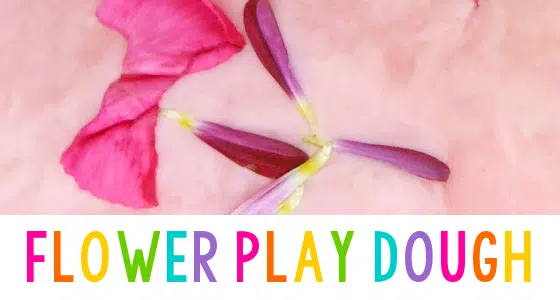
1. Flower Sensory Bottle with Clear Glue
This beautiful flower sensory bottle will spark conversation and questions about flowers and how they grow. Here’s what you need to make your own flower sensory bottle.
Materials needed:
- Plastic Bottle
- Clear Glue
- Warm Water
- Fake Flowers/flower petals (Dollar Store)
- Fine Glitter – color of your choice (If you’re worried about the environment, this brand is biodegradable)
- Hot Glue and hot glue sticks, or Duct Tape to seal the lid shut

Spring Flower Sensory Bottle Instructions
The possibilities for filling sensory bottles is truly endless, you’re only limited by your imagination! For this sensory bottle, we’ll be using plastic flowers to create a vibrant and colorful springtime experience.
Instructions:
- First, fill your bottle half-way with clear glue. Filling the water bottle with glue first is easier because you don’t have to worry about exact measurements or get any of your measuring tools sticky.
- Next, drop in your plastic flowers or petals, filling the bottle to about 3/4 full. Be sure to use flower petals that are small enough to fit through the lid of your bottles.
- Add a small amount of fine glitter to your bottle
- Finally, add warm water to your bottle until it is about 1 inch from the top of the bottle. You’ll want to leave a little extra room at the top of the bottle to allow the flowers and glitter to move when shaken.
- Optional: Add food coloring to the water – just a few drops will do.
- Use the hot glue gun to seal the top of the bottle securely.
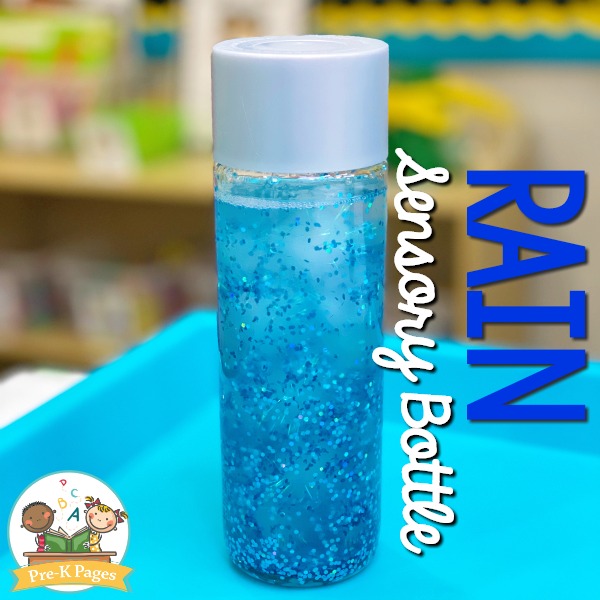
2. Rainy Weather Spring Sensory Bottles
Nothing says spring more than rain! Try out this rain sensory bottle recipe made with oil with your kids.
- Plastic Bottle
- Water
- Baby Oil (Dollar Store)
- Chunky Glitter (blue)
- Tinsel Pom-Poms (white)
- Hot glue gun or duct tape
Check out this research-based, playful learning unit in our curriculum shop!
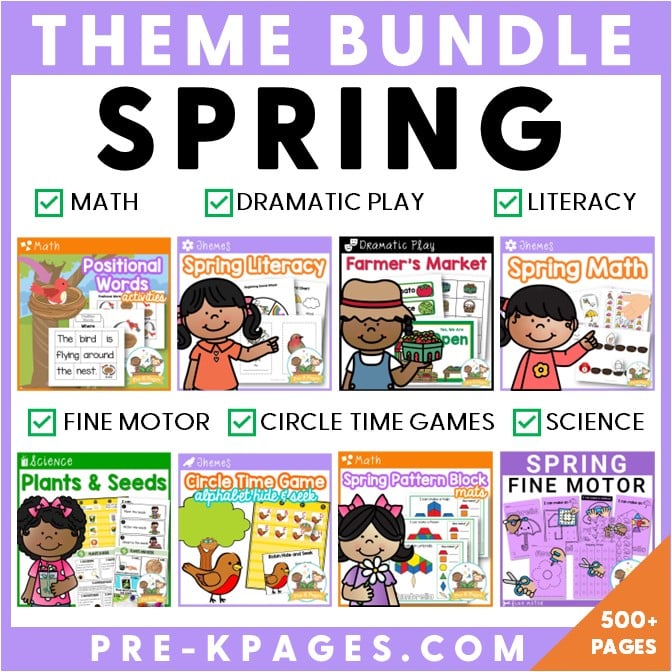
Ultimate Spring Themes Pre-K Lesson Plan Bundle
A bundle of 19 of our most popular spring theme resources, including math, literacy, circle time, fine motor, dramatic play - and more!
Instructions:
- First, add a small handful of cotton balls to your bottle.
- Then, fill your bottle half-way with oil and add in 2-3 tablespoons of chunky glitter.
- Fill the rest of the bottle 3/4 of the way up with water to allow for shaking of the contents.
- Use your hot glue gun or tape to seal the top of the bottle securely.
You can put your rain sensory bottle in your safe spot or calm down area to help soothe your little learners. They’ll be mesmerized by the gently falling rain and the clouds moving in the bottle.

3. Bug Theme Spring Sensory Bottles with Rice
Another simple spring bottle you can make is the bug sensory bottle, it’s perfect for finding and discussing different types of insects.
- Plastic Bottle
- White Rice
- Mini Bug Erasers
- Liquid Watercolor (green)
- Zip top plastic bag – gallon size
- Hot Glue or Duct Tape to seal the lid shut
Instructions:
- Start by filling your gallon size zip top bag halfway full with uncooked white rice.
- Next, squirt a generous amount of green liquid watercolor into the bag.
- Then seal the bag and shake thoroughly until the rice is completely green.
- Pour your colored rice into a shallow tray or onto a flat surface covered with waxed paper, spread out evenly, and allow to dry for about ten minutes.
- When the rice is dry, fill your bottle halfway to the top with green rice, and then add some bug erasers.
- Pour a little more rice on top of the erasers, leaving plenty of room at the top for shaking and finding the bugs. You can make as many bottles as you have rice and erasers to fill. Don’t forget to seal the tops of your bottles shut with tape or glue.
For improved focus and attention, invite your students to find all the bugs in the bug theme bottle.

Sensory Bottle Instructions
Don’t forget to seal the lids of your sensory bottles shut so your kids can’t open them! You can use hot glue or duct tape to seal the lids of your sensory bottle shut.
You could also also try using glitter glue in your sensory bottles and calm down jars.
Sensory Play and Calming Tool
Sensory bottles can be used in many ways to support sensory play and provide a calming tool for preschoolers.
Here are a few ideas:
- Shake the bottle and watch the objects float and move around, providing a visual and auditory sensory experience.
- Use the bottle as a calming tool when children are feeling overwhelmed or need a break. The visual and tactile sensation of the bottle can be soothing and help regulate emotions.
- Encourage children to use their imagination and describe what they see and feel when they look at the bottle. You can also use the bottle to teach about colors, shapes, and textures.
Sensory bottles can also make the perfect additions to your safe spot or calm down area. Providing your students with new calm down bottles can freshen things up and increase interest levels. When your students are feeling anxious, they can visit the calm down corner and shake the rain bottle to watch the rain fall slowly through the clouds or watch the flowers glide gently through the bottle.
You may also consider adding these bottles to your science center to spark questions and discussion about spring.
Free Flower Math Game Printable
Looking for more flower fun? Get this printable flower math game sent to your email simply by filling out the form below.