Are you looking for a fun project to do with your kids for the holidays? This is it!
Salt dough ornaments are a classic Christmas craft, but they’re also tons of fun for kids and super easy to make.
The best part? You probably already have the ingredients you need sitting in your pantry at home!
After all the fun is over, your kids will have the perfect keepsake to give to their families that will create special holiday memories.
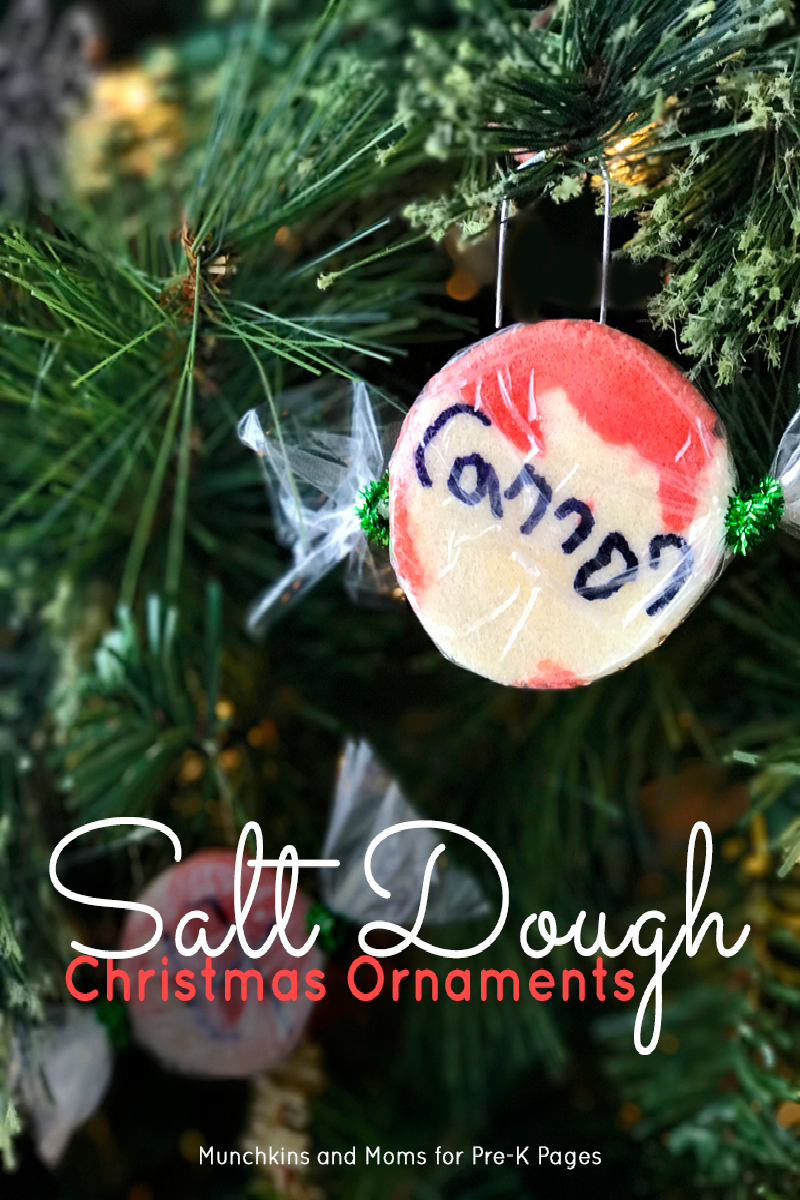
Salt Dough Christmas Ornaments
Preschool teachers have the special honor of starting a homemade ornament collection that parents will cherish for years to come. Here’s an ornament that parents will love receiving, and students can proudly help make!
Salt dough is a classic choice for student-made ornaments for several reasons: it’s easy to work with, it’s versatile, and it’s very inexpensive!

Salt Dough Ornament Recipe
Here are the ingredients you will need to make your own salt dough ornaments.
Salt Dough Ingredients
- 1 cup salt
- 2 cups flour
- 1 cup warm water
- Red food coloring, liquid watercolor, or powdered tempera paint

Supplies for Making the Ornaments
- Permanent Marker
- Chenille Stems
- Plastic Sandwich Bags or Cling Wrap
- Cookie Sheet
- Parchment Paper
- Rolling Pin
- Mixing Bowl
- Spoon
- Measuring Cups
Check out this research-based, playful learning unit in our curriculum shop!
The Ultimate Pre-K Christmas Activities Bundle
19 of our most popular Christmas theme resources, including math, literacy, and dramatic play! Make learning fun with this hands-on bundle!
How to Make Salt Dough Christmas Ornaments
First, invite your kids to help you measure the all purpose flour and salt, then add them to a mixing bowl and stir.
Next, invite the kids to measure the water, pour it into the bowl and mix well.
When the mixture starts to form a dough like consistency you can invite the kids to knead it with their hands, messy but fun!

Salt Dough Ornaments
Once your dough has formed, split it in half and color one half red (using either red food coloring, liquid watercolor or red powdered tempera paint), and leave the other half white.
Knead the coloring into the dough until well combined, you will want to wear gloves for this part – trust me!
This recipe will make enough dough for a dozen small peppermint keepsake ornaments. If you have a larger class you can adjust the ingredients to meet your needs.

How to Make Peppermint Keepsake Ornaments – step by step
After the red dough is ready, give each student with a small ball of white and red salt dough. Invite them to mix the dough together until they are happy with the mixture. You can let this process go on as long as your students are interested.
To form the peppermint candy, have students roll out the dough into a ball between their hands, then squish it flat on the table using the palms of their hands.

Air Dry The Ornaments
You can leave the dough out overnight to dry on a cookie sheet covered with parchment paper, but make sure they are turned at least once to dry the back and front evenly.
Depending on the thickness of your dough, you may need to allow an extra day of drying time.
To speed up the drying process, you may also put them on a baking sheet covered with parchment paper and place them in an oven set to 200 degrees.
Place each ornament on parchment paper and bake for 4-6 hours. Baking time will vary based on how thick they are and everyone’s oven is different. Then make sure to let the cool completely!
Don’t forget to write each child’s name on the parchment paper with your marker so you will know which ornament belongs to whom!

When your salt dough Christmas ornaments are dry, invite the students to either write their name on the ornaments if they are able to do so.
Optional: You may want to seal the ornament with a bit of clear nail polish or Mod Podge. This extra step will give the candies a nice sheen and help keep moisture out.
To finish this fun kid craft, the teacher (or a parent volunteer) can cut open plastic bags and wrap them around the salt dough peppermints, securing the ends with a bit of chenille craft stem. Use hot glue to attach an opened paper clip to the back to form a simple ornament hook.
Another great option is to make a hole in the top of the ornament that then string can go through to hang them from.
Students are going to love presenting these homemade salt dough ornaments to their parents, and parents will love the personalization of their child’s names written on each one!
Have you made salt dough Christmas ornaments with your kids?
BIO: Clarissa is a former elementary teacher and writer of the blog Munchkins and Moms.
More Christmas Ideas
Christmas Tree Sensory Bin Printable– Sensory bins are great ways to engage preschoolers in exploring and to build conceptual knowledge. This Christmas sensory bin builds pre-literacy skills. Children can find and match alphabet letters. They build visual discrimination skills, identifying the differences among letters. And they have so much fun digging in the bin to find the letters.
Five Senses Activities for Christmas – The five senses are key tools for preschoolers to explore and understand the world around them. When teachers can engage one or more of the senses, the learning experience becomes more concrete and more memorable. Here are over 20 activity ideas that will engage the senses as you invite preschoolers to learn more about Christmas.
Candy Cane Christmas Slime Recipe – ‘Tis the season for candy canes! But kids really love slime, so why not combine them both for extra fun? This a fun activity you can do with your kids for Christmas at home or in the classroom. It’s perfect for those cold winter days when you can’t get outside as much as you (or the kids) would like! The best thing about this Christmas slime activity is that most of the ingredients are things you will already have on hand and they won’t break the bank.
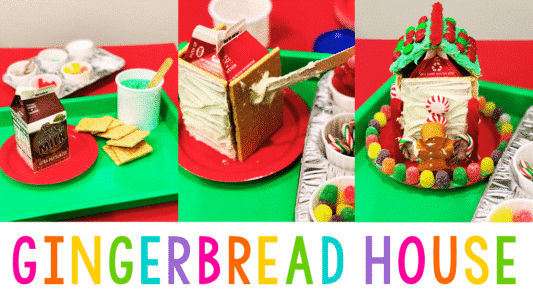
Printable Gingerbread House Recipe
You can get access to the free printable gingerbread house sequence cards below. Simply fill out the form and the printable will be emailed to you.